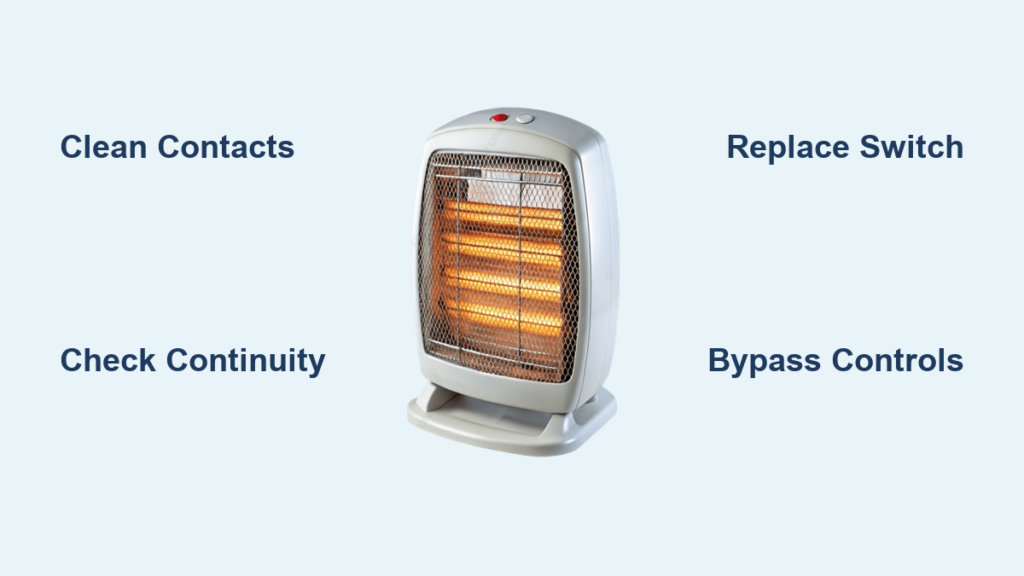
Is your space heater running constantly, failing to turn on, or not maintaining the right temperature? The thermostat is likely the culprit. These components experience heavy use in electric heaters, leading to worn contacts, calibration drift, or complete failure. The good news: most thermostat problems can be fixed at home with basic tools and careful work. This guide covers diagnosing issues, cleaning contact points, replacing faulty switches, and safely bypassing electronic controls for better temperature regulation.
Identify Your Thermostat Type First
Before starting any repair, you need to know whether your heater has a mechanical or electronic thermostat. The fix depends entirely on the type.
Mechanical Thermostats
Mechanical thermostats use a bimetallic strip that bends with heat to open and close electrical contacts. You can identify these by the simple temperature dial on your heater. These are common in older and budget models. They include a tilt switch as a safety feature that cuts power if the unit tips over.
Electronic Thermostats
Electronic thermostats rely on circuit boards, relays, and sensors to control heating cycles. Your heater likely has one if it features a digital display, remote control, or programmable settings. These units may require manual restart after a power interruption.
Pro Tip: A simple dial indicates mechanical; digital controls mean electronic. This distinction determines which repair steps apply to your heater.
Diagnose Common Thermostat Problems
Understanding the symptoms helps you pinpoint the exact issue before spending time on repairs.
Heater Runs Continuously
Stuck or welded contact points in mechanical thermostats often cause this problem. In electronic units, a failed relay or shorted circuit may be to blame. This creates a fire risk, so address it immediately.
No Power or Won’t Start
An open circuit in thermostat contacts from burnout or corrosion prevents power from reaching the heating elements. Use a multimeter to check continuity at the thermostat terminals.
Temperature Inaccuracy
Factory calibration is often poor, with readings off by ten degrees or more. The sensor may be placed near hot elements rather than measuring actual room temperature.
Requires Manual Restart After Power Loss
Electronic heaters with control boards often won’t restart automatically when power returns. This frustrates users who pair heaters with external timers or smart thermostats.
Repair Mechanical Thermostat Contacts
Most mechanical thermostat failures happen at the contact points. High current causes arcing, creating carbon buildup and pitting that prevents proper electrical contact.
Safety First: Unplug and Disassemble
Always unplug the heater before working inside. Remove the housing screws and open the case carefully. Locate the thermostat near the heating element or air outlet. Identify the bimetallic strip, movable contact arm, fixed contact point, and tilt switch.
Warning: Never work on a plugged-in unit. Capacitors can hold dangerous charge even when the heater is turned off.
Inspect Contact Points for Damage
Look for these signs of failure:
- Black carbon deposits from oxidation
- Pitting or burrs caused by electrical arcing
- Warping that prevents full contact closure
- One-sided wear indicating misalignment
Clean Contacts With a Metal File
Use a fine two-sided metal file, not sandpaper which leaves abrasive residue. Gently smooth both contact surfaces to achieve flat, clean metal-to-metal contact. Wipe clean with isopropyl alcohol and a lint-free cloth afterward.
Avoid filing too much because you can thin the metal and weaken the spring tension.
Adjust Contact Pressure and Alignment
If contacts don’t close squarely, bend the movable arm slightly with needle-nose pliers. Insert a paper shim between the arm and frame to adjust tension. The contacts must open fully when cool and close tightly when warm.
Test Before Reassembling
Manually press the bimetallic strip or warm it with a hairdryer. Watch the contacts open and close properly. Tilt the unit to confirm the momentum switch breaks the circuit.
Reassemble and Test Operation
After successful repair, verify the heater cycles correctly and shuts off safely.
Reconnect and Secure Wiring
Reattach wires to thermostat terminals using high-temperature wire connectors rated for areas near heating elements. Avoid electrical tape which melts and emits toxic fumes.
Run Full Heating Cycle Test
Plug in the heater and turn it on. Observe the startup, heating phase, automatic shutoff at the set temperature, and restart when cooled. Place a digital thermometer nearby to verify actual room temperature matches the cycling behavior.
Troubleshoot Post-Repair Issues
| Issue | Cause | Fix |
|---|---|---|
| Sparks at contacts | Pitted or misaligned surfaces | Refile and realign |
| Won’t shut off | Stuck contacts | Increase gap or replace |
| Stops abruptly | Overheat protection tripped | Clean vents, check airflow |
| Intermittent power | Loose wires | Tighten connections |
Replace Faulty Thermostat
When cleaning fails, replacement becomes necessary.
Choose Correct Replacement
Match the voltage (120V standard), current rating (15A typical), temperature range, and physical size. For dial thermostats, look for OEM or compatible aftermarket units.
Install With Heat-Resistant Connectors
Label all wires before disconnecting. Use ceramic or high-temp wire nuts near heating elements. Never splice wires with tape.
Bypass Electronic Thermostat Controls
Advanced users can bypass internal controls to use external thermostats for precise room temperature control.
Why Bypass Internal Controls
Factory thermostats measure heat near elements, not actual room temperature. External thermostats provide accurate room-level sensing and enable smart home integration.
Overcome Auto-Restart Limitation
Most electronic heaters won’t restart after power loss. Bypass modification lets the heater turn on immediately when power is applied while keeping safety switches intact.
Perform the Bypass
- Unplug and disassemble the heater.
- Trace circuits with a multimeter in continuity mode.
- Cut the brown wire going into the control board.
- Disconnect blue wires from relay outputs.
- Connect the brown wire directly to both blue wires using a wire nut.
- Reassemble securely.
Critical: The path from power cord through tip-over switch to thermal cutoff must remain intact for safety.
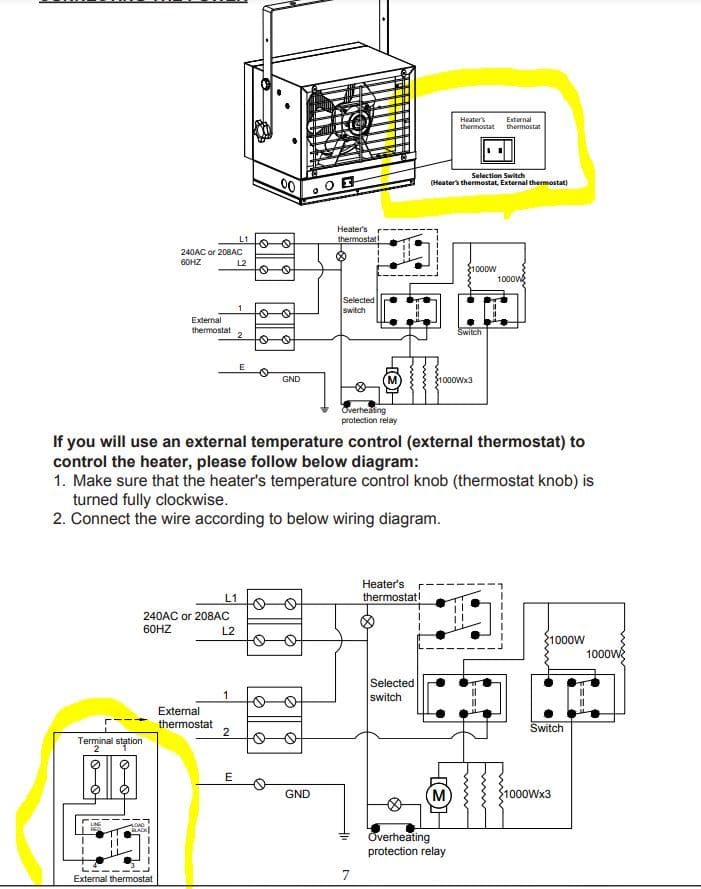
Connect to External Thermostat
After bypassing, control the heater via external devices.
Use Line-Voltage Thermostat
Install a 120V-rated thermostat on an interior wall and wire it into the power supply. This ensures the heater only runs when room temperature drops below your setting.
Smart Plug Alternative
Plug the heater into a smart outlet paired with a remote temperature sensor. Set schedules or use voice control through Alexa or Google Assistant.
Recommended Devices
- Honeywell RLV4305A for manual line-voltage control
- Sinope TH1123ZB for smart Z-Wave integration
- GE 15A Line Voltage Thermostat for reliable basic operation
Essential Safety Guidelines
Never compromise on safety when repairing space heaters.
Preserve Critical Safety Features
Never disable the tip-over switch or thermal cutoff. These are your last line of defense against fire. Bypass only the control logic, not safety systems.
Use Proper High-Temp Components
Use ceramic connectors in hot zones exceeding 150°C. Avoid plastic wire nuts or tape near heating elements. Inspect connections monthly for melting or discoloration.
Prevent Fire Hazards
Keep the heater at least three feet clear of curtains, furniture, and bedding. Place on a hard, level surface. Clean dust from grilles and reflectors monthly.
Choose the Right Repair Method
Select the approach matching your skill level and goals.
| Method | Skill Level | Best For |
|---|---|---|
| Clean contacts | Low-Medium | Minor wear on mechanical units |
| Replace thermostat | Medium | Burnt-out or unrepairable switches |
| Bypass electronic | Medium-High | Smart home integration |
| Smart plug only | Low | Simple automation |
Final Tips for Long-Term Reliability
Label all modifications inside the unit for future reference. Test thoroughly by running multiple cycles and checking for heat or odor. Monitor performance weekly during initial use. Replace thermal fuses immediately if blown rather than bypassing them.
Frequently Asked Questions About Space Heater Thermostats
Can I fix a space heater thermostat myself?
Yes, many mechanical thermostat issues can be fixed by cleaning contact points and adjusting alignment. Electronic problems may require replacement or bypass modification. Basic repairs require minimal tools and intermediate skill.
Why does my space heater run constantly?
Constant operation usually means stuck or welded contact points in mechanical thermostats. In electronic units, a failed relay may be the cause. Clean or replace the thermostat to resolve this issue.
How accurate are space heater thermostats?
Factory thermostats are often inaccurate, commonly off by ten degrees or more from the set temperature. For better accuracy, use an external room thermostat or smart temperature sensor.
Is it safe to bypass the electronic thermostat?
Yes, if you preserve safety devices like the tip-over switch and thermal cutoff. The modification should only bypass control logic, never safety systems. Always maintain overheat protection.
How long do repaired thermostats last?
Repaired mechanical switches typically last six to eighteen months depending on usage. Bypassed units with external control often show improved lifespan due to reduced relay cycling.
What tools do I need to fix a space heater thermostat?
Basic tools include a screwdriver, multimeter, fine metal file, needle-nose pliers, and isopropyl alcohol. For bypass modifications, you’ll need wire cutters, strippers, and high-temp wire connectors.
Key Takeaways for Fixing Your Space Heater Thermostat
Most space heater thermostat problems stem from worn contact points in mechanical units or failed relays in electronic models. Cleaning and adjusting contacts fixes approximately seventy percent of mechanical thermostat issues. Always preserve safety features like tip-over switches and thermal cutoffs during any repair or modification. For precise temperature control, bypass internal electronics and connect to an external line-voltage or smart thermostat. With the right approach, you can restore reliable heating performance without replacing the entire heater.