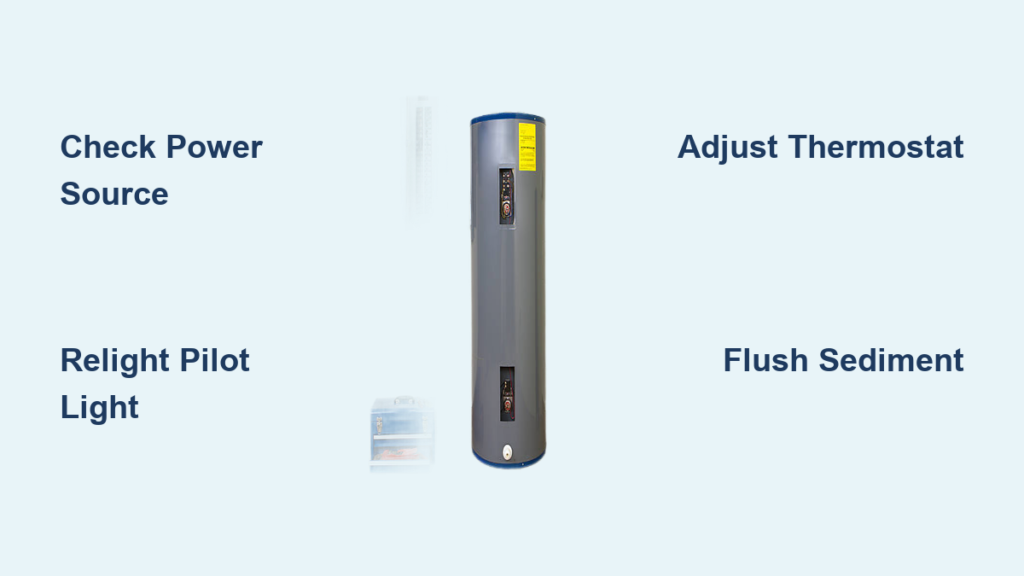
You wake up ready for a warm shower, only to be greeted by ice-cold water. A hot water heater not working can throw off your entire morning routine. The good news is that many common causes are simple to diagnose and fix without calling a plumber. Issues like tripped breakers, pilot light failures, or sediment buildup account for most breakdowns. This guide walks you through the most frequent problems and shows you how to restore hot water quickly and safely.
You will learn how to inspect power sources, relight pilot flames, adjust thermostats, and flush mineral deposits. Most fixes take less than 30 minutes and require only basic tools. With a little patience, you can avoid a service call and get your hot water running again today.
Check the Power Source First

When a hot water heater stops producing heat, the first thing to verify is whether it has power. Electric models are especially vulnerable to power loss from tripped breakers or blown fuses.
Test the Circuit Breaker
Head to your home’s electrical panel and locate the breaker labeled for the water heater. If the switch sits in the middle or points to “off,” it has tripped. Flip it fully off, then back to “on” to reset it. You should hear a click confirming power is restored. If the breaker trips again right away, stop resetting it. Repeated tripping signals a short circuit that needs professional attention.
Inspect the Outlet and Cord
Some tankless or point-of-use units plug into a standard wall outlet. Make sure the power cord is fully inserted and the outlet is working. Plug in a lamp or phone charger to test it. If the outlet is dead, check nearby GFCI outlets and press their reset buttons. A tripped GFCI can cut power to your heater without affecting other appliances.
Examine the Pilot Light on Gas Models
For gas water heaters, a failed pilot light is one of the top reasons for no hot water. Without a steady flame, the burner cannot ignite to heat the tank.
Relight the Pilot Safely
Turn the gas control knob to the “Pilot” setting. Press and hold the knob down while lighting the pilot with a long-stem lighter or match. Keep holding the knob for 30 to 60 seconds after the flame appears. This allows the thermocouple to heat up and signal the gas valve to stay open. Release the knob slowly. If the flame stays lit, turn the knob to “On.” If it goes out, the thermocouple likely needs replacement.
Check for Drafts and Gas Supply
A weak or flickering pilot flame often points to a blocked vent or low gas pressure. Make sure the gas supply valve is fully open. Clear any debris or dust from the exhaust vent, especially if the unit sits in a basement, closet, or utility room. Poor ventilation can blow out the pilot repeatedly.
Test the Thermostat Settings
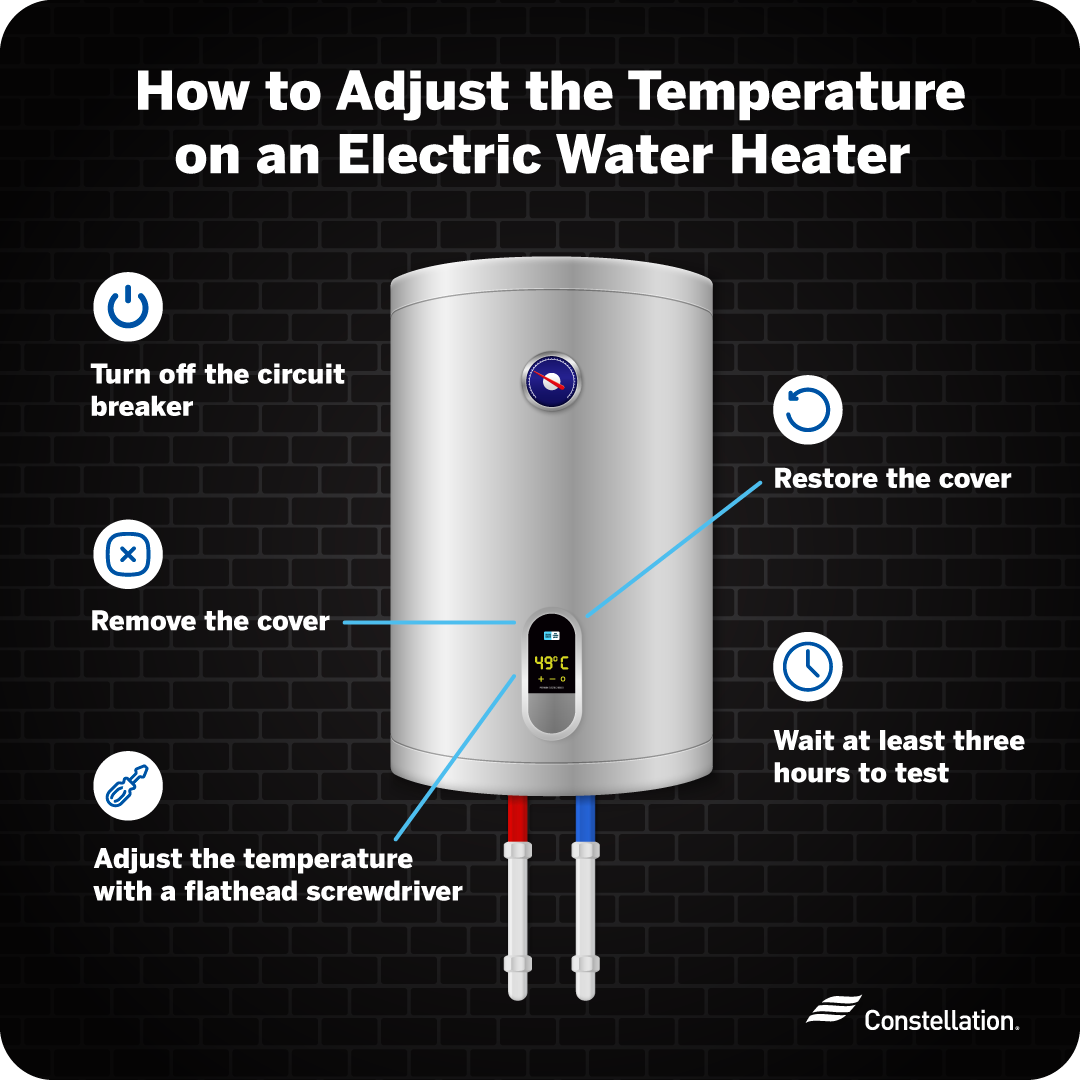
Incorrect thermostat settings can mimic a complete heater failure. Sometimes the fix is as simple as adjusting the temperature dial.
Adjust the Temperature Properly
Electric water heaters have two thermostats, one on the upper element and one on the lower. Turn off power at the breaker before removing the access panels. Use a flat screwdriver to set both thermostats to 120°F for normal use, or 140°F if you need hotter water. Replace the panels and restore power. Wait 1 to 2 hours for the tank to heat fully before testing.
Press the Reset Button
The upper thermostat has a red reset button that trips when water overheats. If the button is popped out, press it firmly to restore operation. If it trips again soon after, the thermostat or heating element is likely faulty and needs replacement.
Flush Out Sediment Buildup
Hard water leaves mineral deposits inside the tank over time. This sediment blocks heat transfer and reduces efficiency, often causing lukewarm or no hot water.
Prepare to Drain the Tank
Turn off power to the heater and shut off the cold water supply valve. Attach a garden hose to the drain valve near the bottom of the tank. Run the other end to a floor drain, bucket, or outside. Open the pressure relief valve on top of the tank to let air in and speed up the flow.
Drain and Refill the Tank
Open the drain valve and let water run until it flows clear. This usually takes 10 to 20 minutes. Close the valve, disconnect the hose, and turn the cold water supply back on. Wait until water stops flowing from a nearby hot faucet to confirm the tank is full. Then restore power and wait for the water to heat.
Inspect the Heating Elements
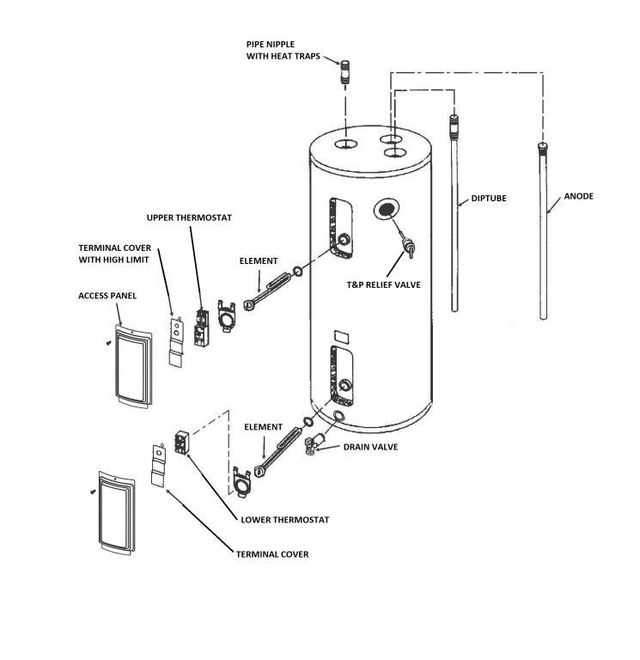
Electric heaters rely on two heating elements to warm the water. When one burns out, you may get only partial hot water or none at all.
Test for Continuity
Turn off power and shut off the water supply. Drain a few gallons from the tank to expose the elements. Remove the access panels and insulation. Use a multimeter set to ohms to test each element for continuity. A reading of zero or infinity means the element is dead. Look for visible signs of corrosion, bulging, or cracks.
Replace Faulty Elements
Match the new element to the old one in wattage and size. Screw it in tightly but avoid over-tightening, which can damage the threads. Reinstall the insulation and panels. Always refill the tank completely before turning the power back on. Running an element without water will destroy it instantly.
Verify the Water Supply Valves
A closed or partially open valve can stop hot water from reaching your faucets, even when the heater is working fine.
Ensure Full Water Flow
Check the cold water inlet valve on top of the heater. The handle should be fully open and aligned with the pipe. Look at the hot water outlet line for any shutoff valves that may have been closed during recent plumbing work. Open any closed valves completely.
Test Faucet Pressure
Turn on a hot water faucet in the kitchen or bathroom. If no water flows, there may be a blockage in the supply line. If water trickles out weakly, clean the faucet aerator and check for sediment in the valve. Restricted flow often points to debris trapped in the plumbing.
Assess the Age of Your Water Heater
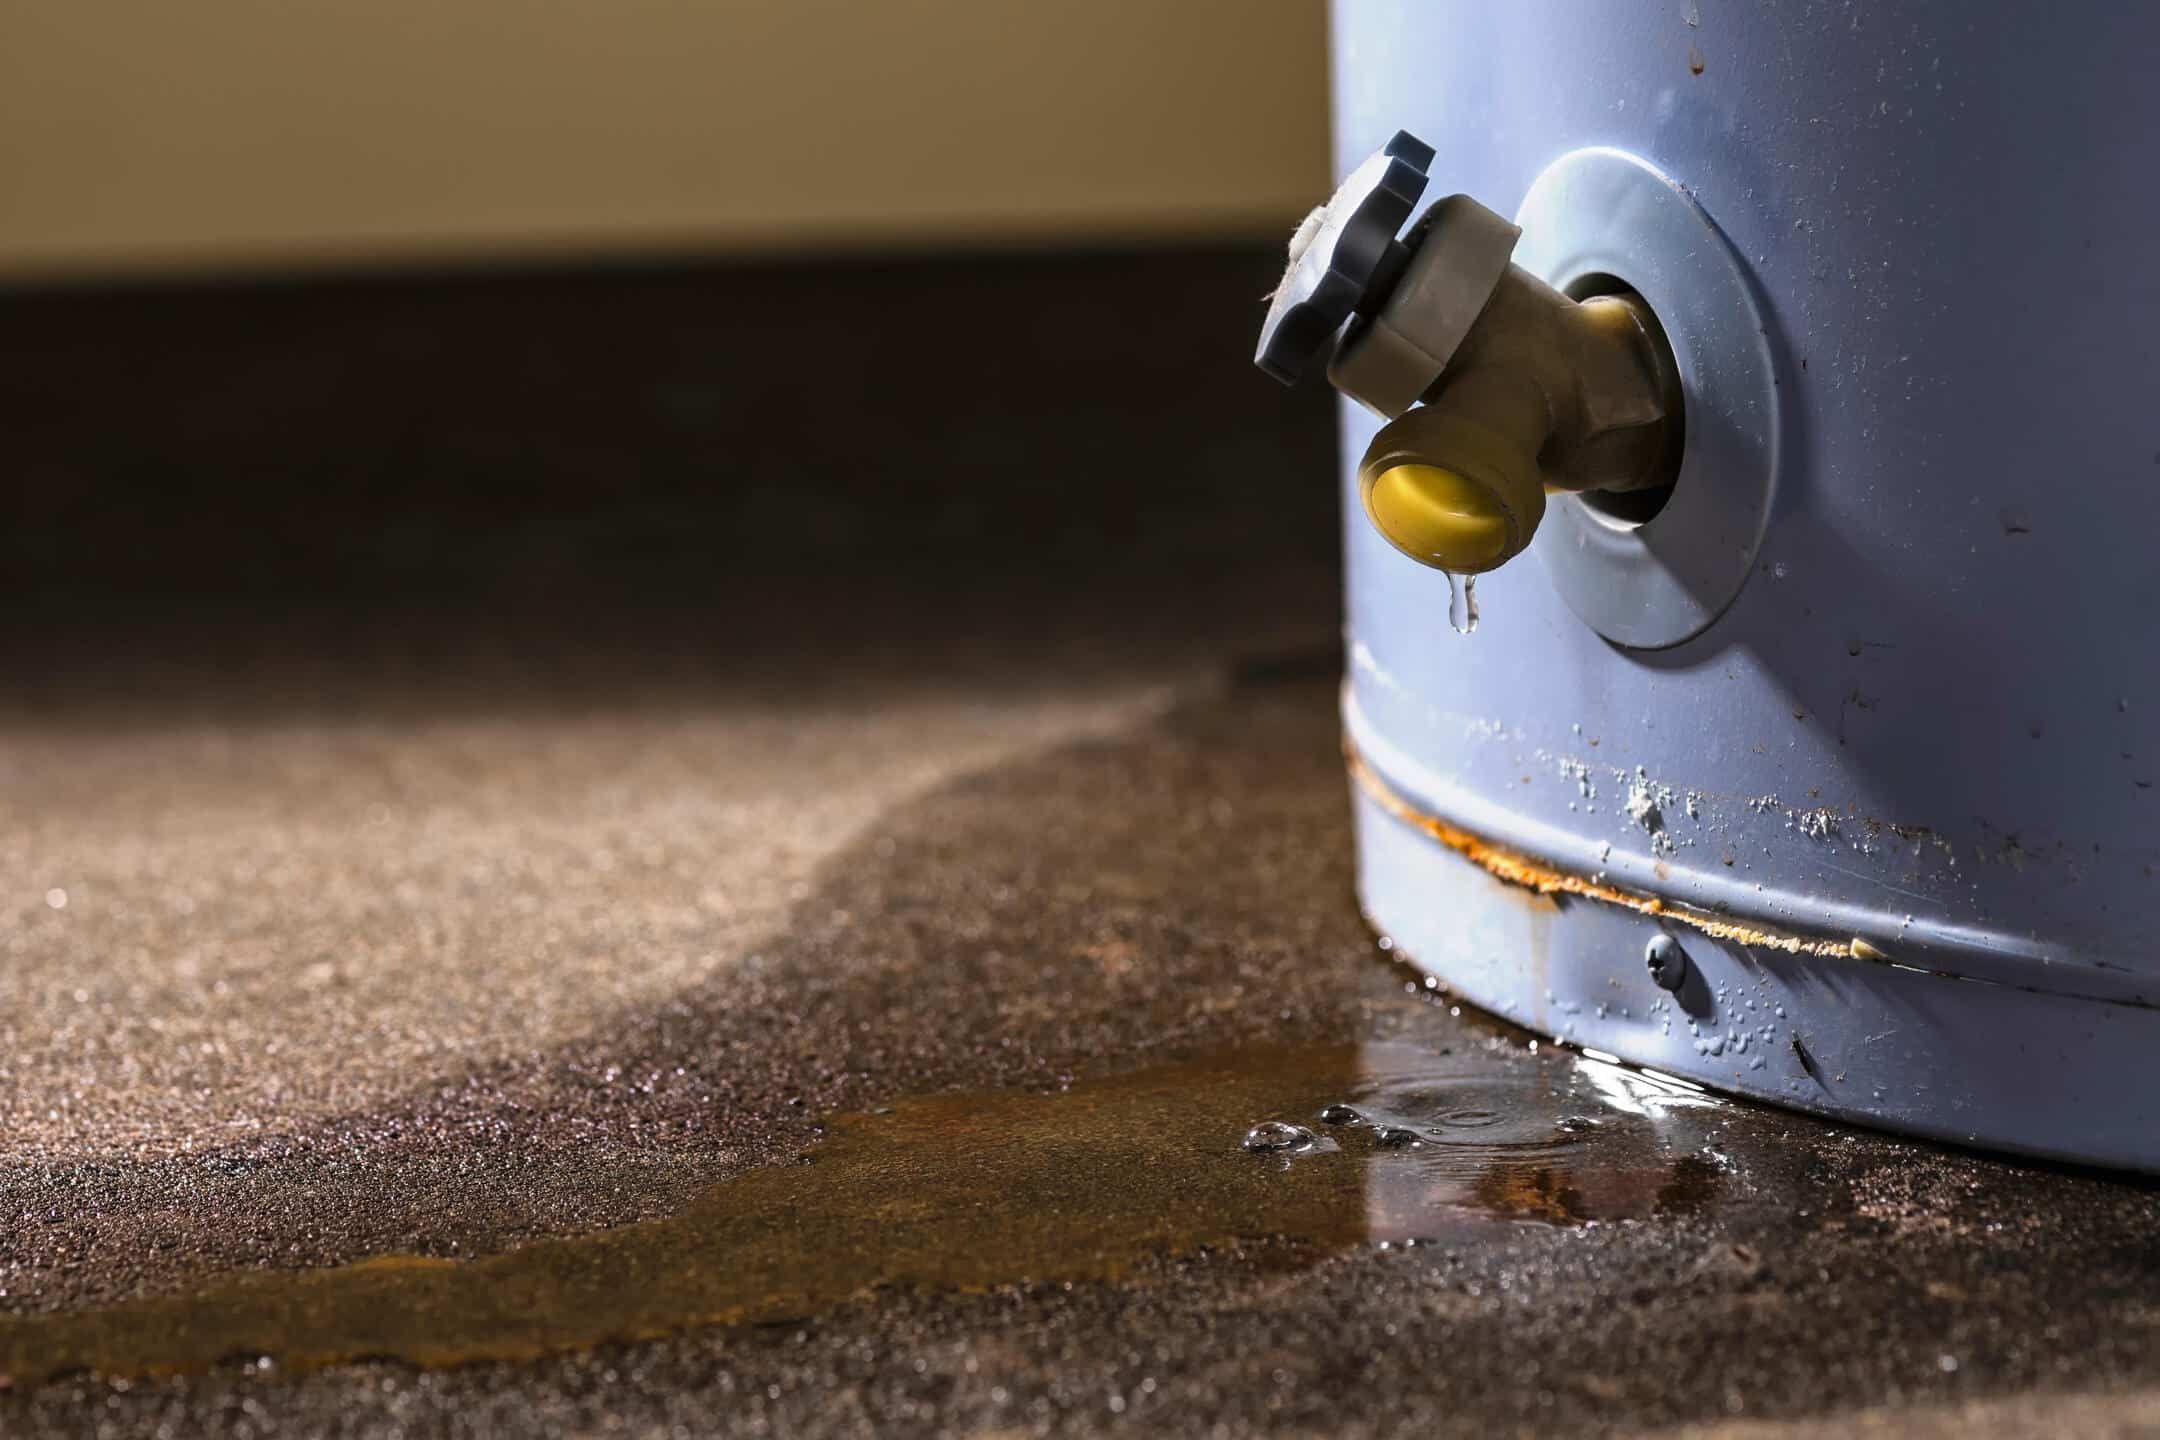
Most tank-style water heaters last 8 to 12 years. As they age, breakdowns become more frequent and repairs less cost-effective.
Recognize End-of-Life Signs
If your unit is over 10 years old and showing repeated problems, replacement may be the smarter choice. Warning signs include rust-colored water, leaks around the base of the tank, and rumbling or popping noises during operation. These symptoms usually mean the tank is corroding from the inside.
Consider a Tankless Upgrade
Tankless water heaters provide endless hot water on demand and last up to 20 years. They take up less space and reduce energy costs, though the upfront price is higher. A licensed plumber can evaluate your home’s gas line or electrical capacity to determine if a tankless system is a good fit.
Prevent Future Hot Water Heater Problems
Routine maintenance extends the life of your heater and prevents sudden breakdowns. A few simple tasks each year can save you from cold showers and expensive repairs.
Schedule Annual Flushing
Drain the tank once a year to remove sediment before it hardens. This keeps the heating elements working efficiently and prevents clogs in the drain valve. Mark your calendar or set a phone reminder so you never skip this step.
Test the Pressure Relief Valve
Lift the lever on the temperature and pressure relief valve once a year. Water should flow out of the overflow pipe and stop when you release the lever. If it leaks continuously or does not open at all, replace the valve right away. This component prevents dangerous pressure buildup inside the tank.
Monitor for Leaks and Rust
Check the floor around your heater every month for moisture or rust stains. Even small leaks can signal a failing tank. Catching problems early gives you time to plan a replacement before a major flood occurs.
Frequently Asked Questions About Hot Water Heater Problems
Why is my hot water heater not working but the pilot light is on?
If the pilot is lit but the burner does not ignite, the thermocouple may be faulty. This small sensor detects the pilot flame and signals the gas valve to open. A weak or dirty thermocouple will shut off gas flow even when the pilot is burning. Cleaning or replacing the thermocouple usually solves the problem.
How long does it take for a water heater to heat up after resetting?
After a full reset, electric heaters typically need 1 to 2 hours to heat a tank completely. Gas heaters recover faster, usually within 30 to 45 minutes. If water is still cold after 2 hours, check the thermostats and heating elements for faults.
Can a hot water heater not working be caused by a tripped breaker?
Yes, tripped breakers are one of the most common causes of electric heater failure. High power draw, a short circuit, or a faulty element can trip the breaker. Reset it once, but if it trips again, call an electrician to inspect the wiring before attempting further resets.
Is it safe to relight a pilot light on a gas water heater?
Yes, relighting a pilot is safe when you follow the manufacturer’s instructions. Turn the gas knob to “Pilot,” press and hold it, and ignite the flame with a long lighter. Keep the area ventilated and avoid breathing fumes. If you smell gas at any point, stop and call your gas company immediately.
How often should I flush my water heater?
Most manufacturers recommend flushing the tank once a year. Homes with hard water may need to flush every 6 months to prevent heavy sediment buildup. Regular flushing keeps the heater efficient and extends its lifespan.
When should I replace my water heater instead of repairing it?
Replace your heater if it is over 10 years old, leaks from the tank, or requires frequent repairs. Rust-colored water, rumbling noises, and visible corrosion are signs the tank is failing. A new unit is more cost-effective than repeatedly repairing an aging system.
Key Takeaways for Fixing a Hot Water Heater Not Working
Start your troubleshooting with the simplest checks: power supply, pilot light, and thermostat settings. Most hot water heater problems trace back to one of these three areas. If the basics check out, move on to flushing sediment and testing the heating elements. Always turn off power and water before performing any repairs, and never keep resetting a breaker that keeps tripping.
For ongoing reliability, flush your tank annually and test the pressure relief valve once a year. These two tasks take less than an hour and prevent the majority of common breakdowns. If your heater is over a decade old or showing signs of rust and leaks, start shopping for a replacement before it fails completely. With the right approach, you can restore hot water quickly and keep it flowing for years to come.