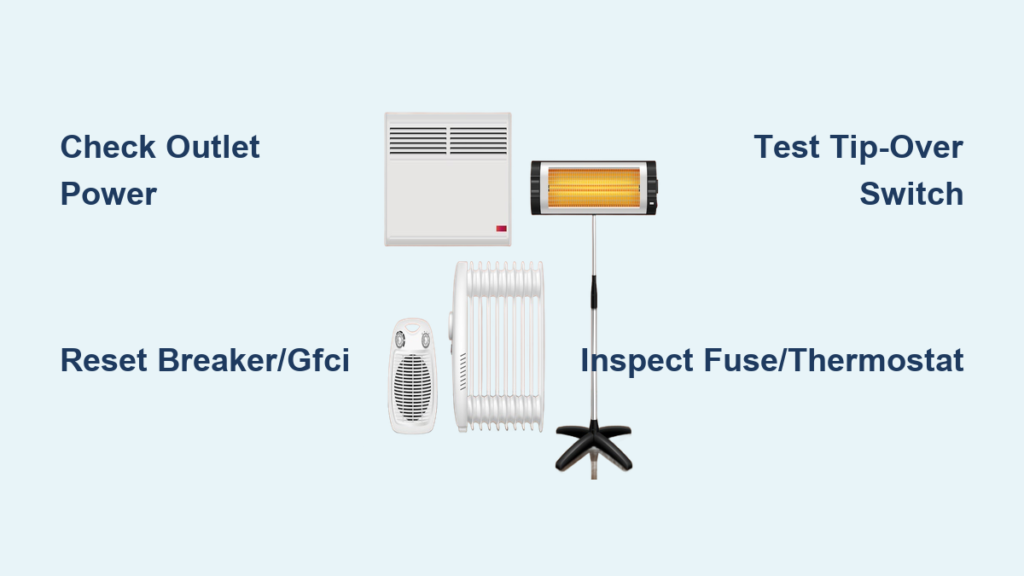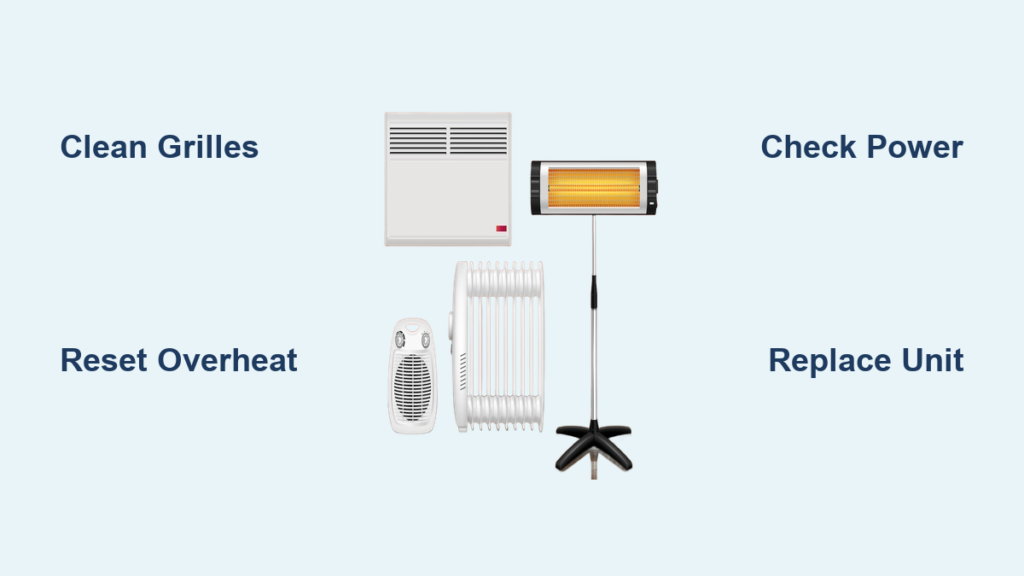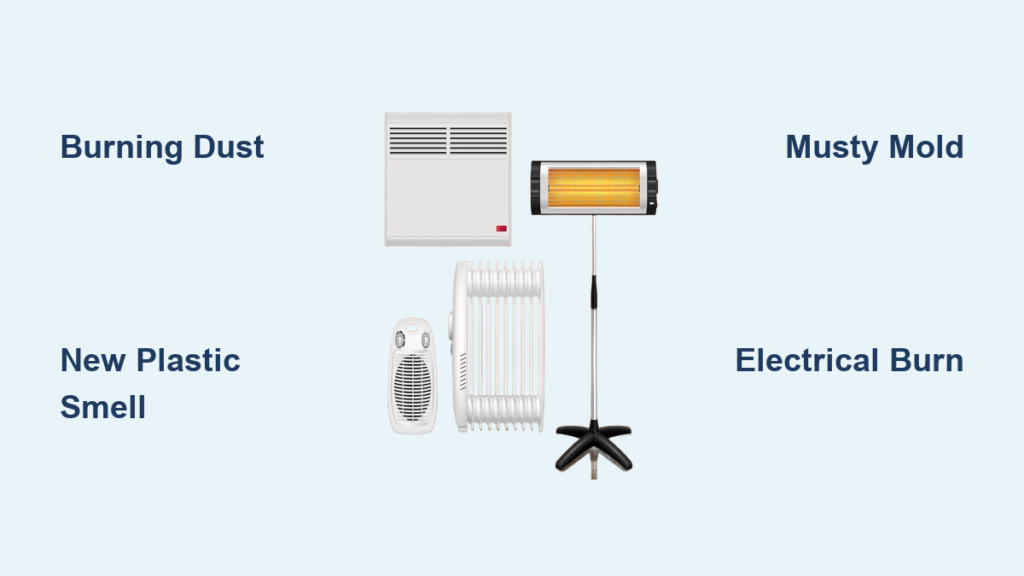
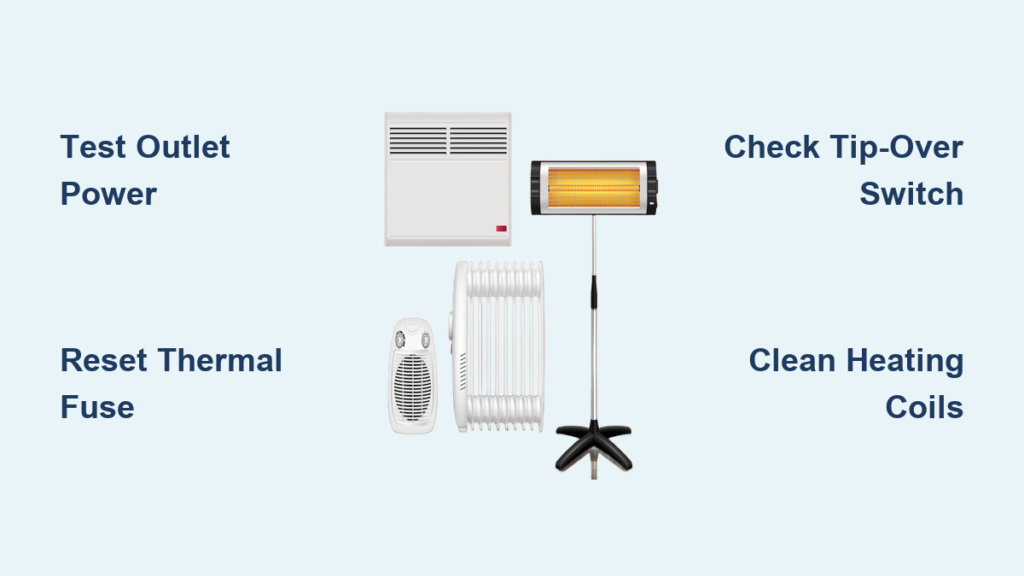
Is your space heater suddenly dead, blowing cold air, or shutting off unexpectedly? You’re not alone. Thousands of heaters fail each winter due to simple, fixable issues like blown fuses, clogged vents, or faulty switches. The good news? Most problems can be diagnosed and repaired at home with basic tools and a little know-how. In this guide, you’ll learn how to fix a broken space heater safely, step by step.
Whether it’s not turning on, producing no heat, or making strange noises, we’ll walk you through diagnosing the cause, testing components, and restoring warmth. Many repairs cost less than $10 and take under an hour.
Testing Power Supply Before Opening Your Heater
Before opening your heater, confirm the problem isn’t a household electrical issue. This saves time and prevents unnecessary disassembly.
Test the Outlet and Circuit Breaker
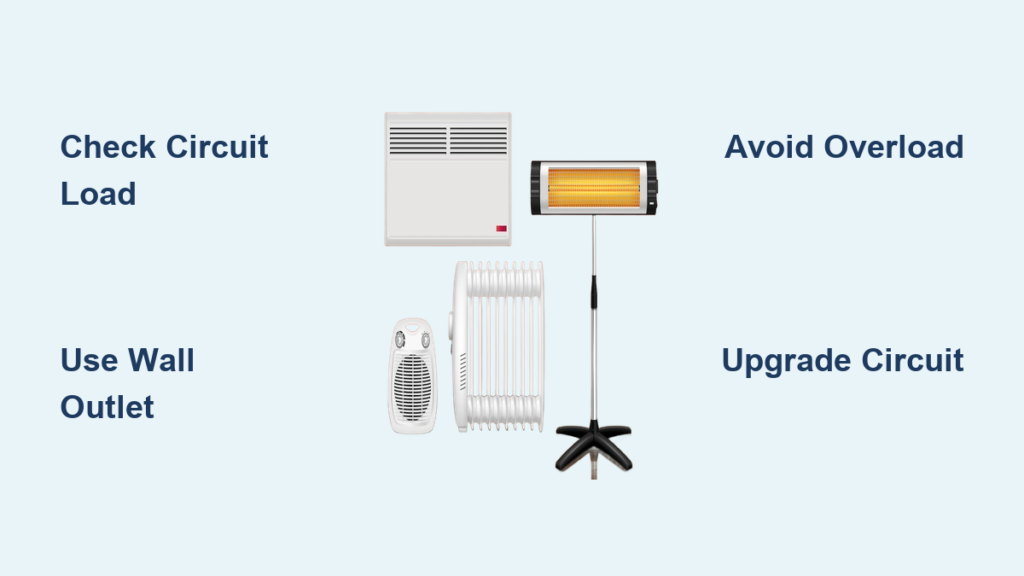
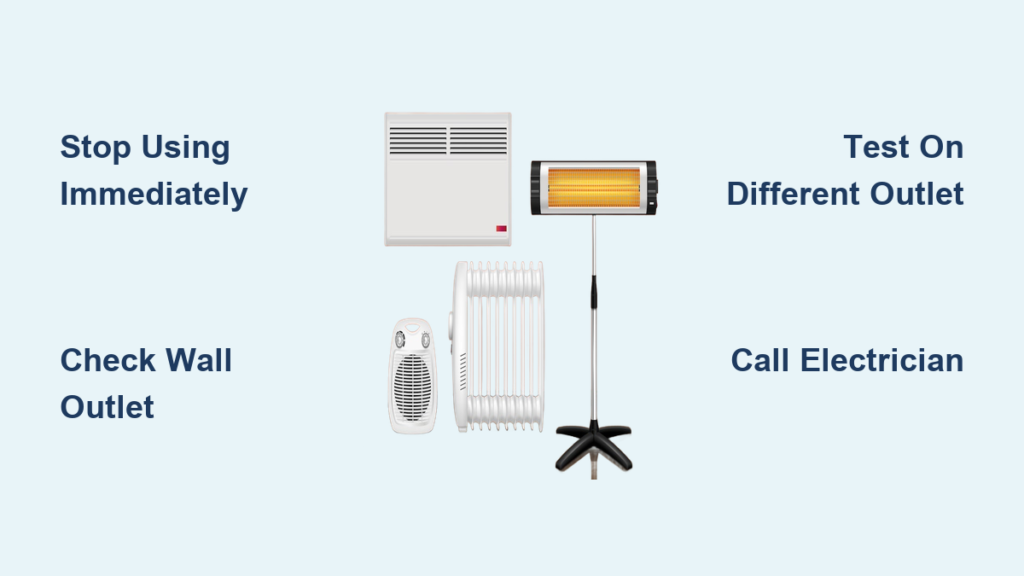
Plug a lamp or hair dryer into the same outlet to verify it has power. If nothing powers on, check your electrical panel for a tripped breaker or blown fuse. Reset any tripped switches and test again. Don’t forget GFCI outlets in bathrooms or kitchens, which can cut power without obvious signs. Try plugging the heater into a different room to rule out circuit overload.
Inspect the Power Cord
A damaged cord is a common silent killer. Look for fraying or kinking near the plug or base, melted insulation, or loose connections when wiggling the cord. If the cord feels warm during use, that’s a red flag. Use a multimeter to test for continuity. No continuity means a broken internal wire, and the cord should be replaced immediately.
Avoid Extension Cords
Never run a space heater through a standard extension cord, which can overheat and pose a fire risk. If you must, use only a 14-gauge, heavy-duty, outdoor-rated cord rated for 1500W. Better yet, plug directly into a wall outlet.
Fixing a Space Heater That Won’t Produce Heat
If your heater turns on but blows cold air, the issue lies in the heating system itself. Let’s diagnose and fix it.
Reset the Heater
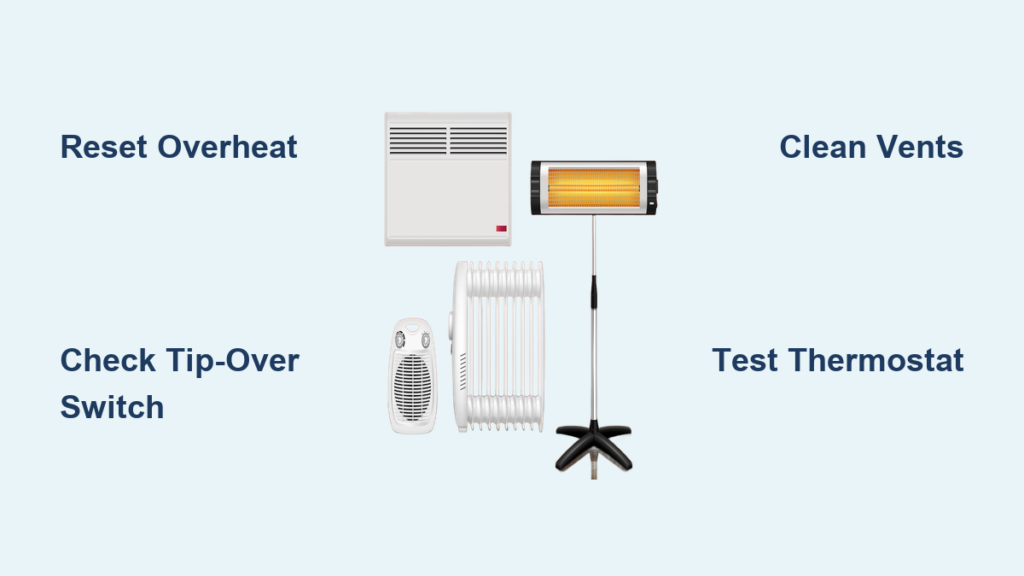
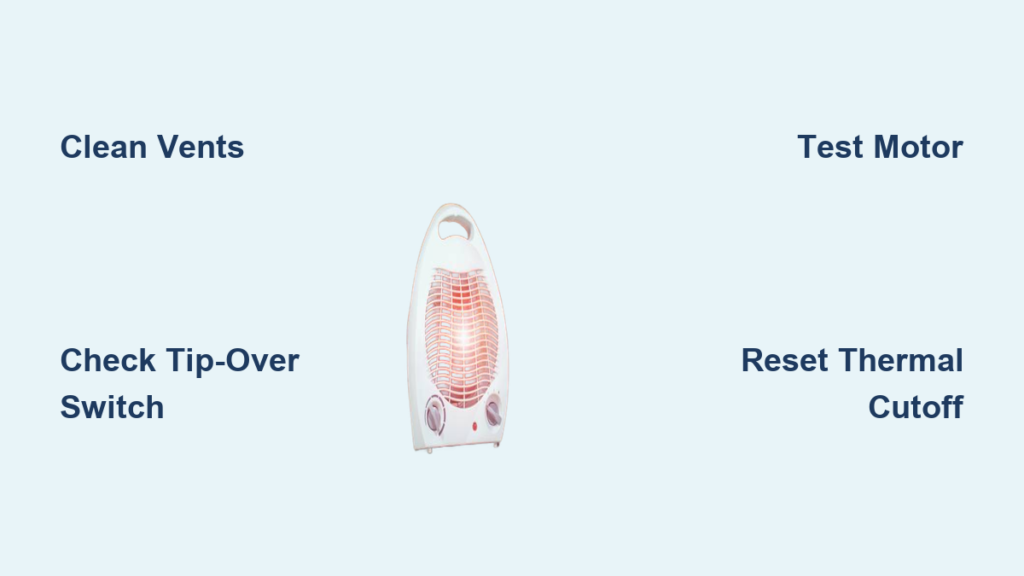
Many units have thermal cut-offs that lock the system after overheating. Unplug the heater and wait 10 to 15 minutes to reset internal safeties. Plug it back in. This simple step fixes many dead units.
Check the Tip-Over Switch
If the heater was bumped or tilted, the safety switch may have triggered. Unplug it, place it upright on a level surface, wait a few minutes, then retry. To test the switch, use a multimeter in continuity mode and tilt the unit slightly. The reading should change. No change means the switch is faulty and needs replacement.
Replacing Failed Internal Components in Space Heaters
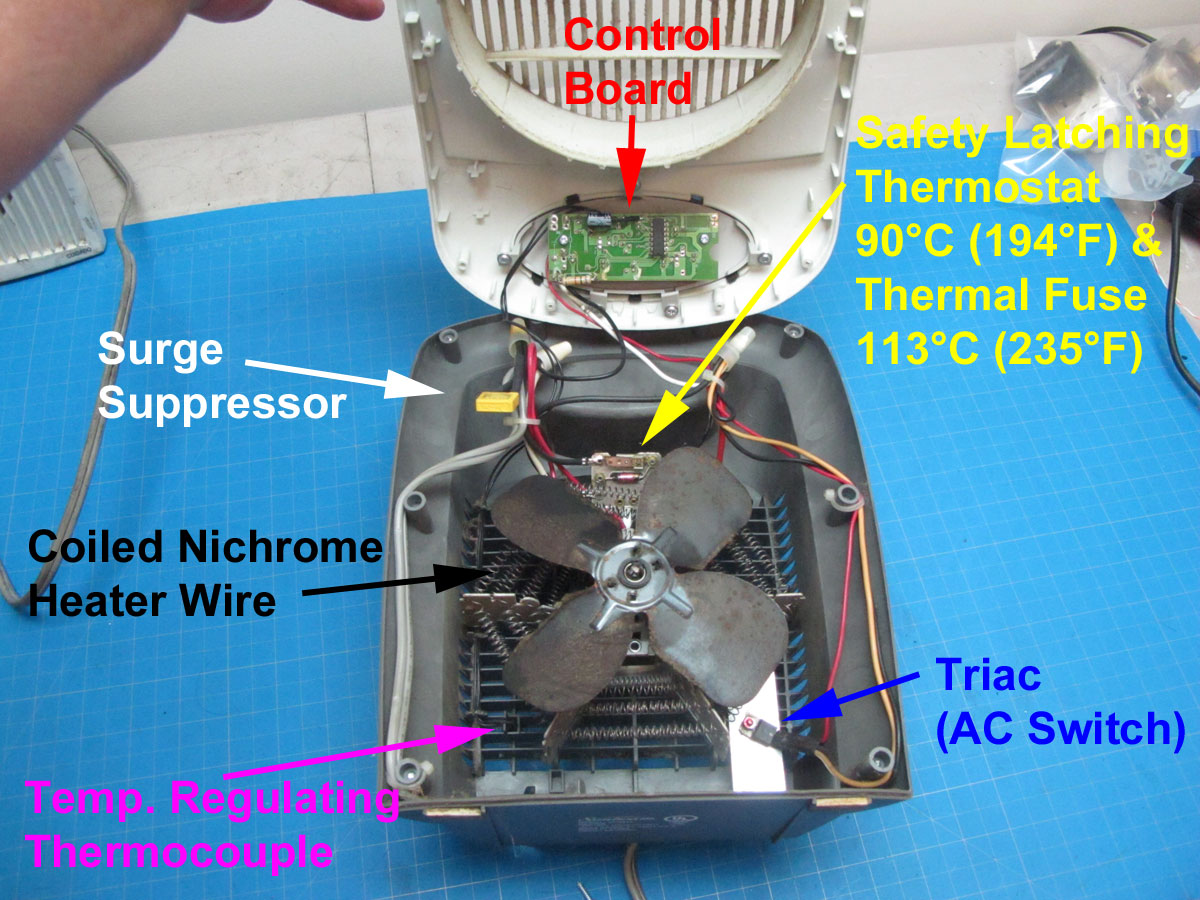
If basic resets don’t work, internal components have likely failed. Here’s how to test and replace them.
Test the Thermal Fuse
The thermal fuse is a one-time safety device that trips if the heater overheats. It’s usually a small white or black cylinder near the heating element. To test, unplug and open the housing, locate the fuse by following the live wire from the plug, disconnect one lead, set your multimeter to continuity, and probe both ends. If you get infinite resistance, the fuse is blown. Replace it with an identical model with the same voltage and temperature rating. Never bypass it permanently.
Inspect the Heating Element
Remove the cover and visually examine the coil or ceramic plate. Look for sagging or broken wires, dark burnt spots, or melted insulation nearby. Use a multimeter to test resistance. A 1500W heater should read 10 to 15 ohms on a 120V circuit. Infinite resistance means the element is dead. Replacement is often not cost-effective for budget heaters.
Replace a Faulty Thermostat
If the heater runs continuously or won’t turn on, the thermostat may be stuck open or closed. Test by disconnecting power, removing wires and labeling them, testing continuity while cold, warming it slightly with a hair dryer, then re-testing. Continuity should change with temperature. No change means replace the thermostat. Match the model number or temperature range. For temporary fixes, cycle the dial from max to min ten times to clean internal contacts.
Repairing Space Heater Fan and Motor Issues
A working heater that doesn’t circulate air is just as useless. Let’s get the fan moving again.
Fan Won’t Spin
If the heater powers on but blows no air, listen for a hum, which indicates power to the motor. Manually spin the fan. If it starts, the capacitor may be weak. Check for debris blocking rotation.
Test and Replace the Capacitor
Found on fan heaters, the capacitor helps start the motor. It’s a small cylindrical component, usually 2 to 4 microfarads at 250 to 400V. Test with your multimeter by setting to capacitance mode, discharging first by touching terminals with a screwdriver, then reading the value. If it’s below 80% of rated capacitance or shows no charge, replace it. Use exact specs, as wrong values can damage the motor.
Lubricate the Motor
Seized bearings cause motors to overheat or stall. Remove the fan and apply a few drops of lightweight oil to the shaft ends. Rotate by hand to distribute. If it still won’t spin, replace the motor.
Solving Intermittent Heating Problems
Inconsistent operation frustrates users and often points to electrical contact issues.
Clean Electrical Contacts
Oxidation on switches or thermostats causes flickering heat. Disassemble the control knob and clean contacts with electrical contact cleaner spray, isopropyl alcohol and cotton swab, or fine sandpaper used gently. Reassemble and test. Cycling the thermostat repeatedly can also burn off light corrosion.
Secure Loose Wiring
Vibration can loosen connections. Open the unit and check wires at the terminal block, solder joints on the circuit board, and connections to the heating element. Tighten screws or re-solder broken joints. Use wire nuts or crimp connectors, never rely on twisted wires alone.
Fixing Sparking or Unusual Noises in Space Heaters

Strange sounds indicate electrical problems that need immediate attention.
Normal vs. Dangerous Sounds
Minor sparking at startup is common in radiant coil heaters. Loud pops, buzzing, or continuous arcing are dangerous. Immediate actions include unplugging the heater, opening and inspecting for burnt switch contacts, loose wire nuts, or swollen or leaking capacitor. Replace damaged parts. Never operate a heater with internal arcing, as it’s a fire hazard.
Emergency Bypass for Failed Space Heater Controls
If the heating element and fan work but controls are dead, you can bypass them for emergency heat.
Direct Power to Element and Fan
This disables all safety features and should only be used under constant supervision. Steps include unplugging and disassembling the unit, identifying white wires for neutral and black wires for hot, tying all white wires together with a wire nut, connecting the two black fan-speed wires together, insulating all connections, and reassembling carefully. The heater will run at full power continuously with no thermostat or tip-over protection.
Preventing Space Heater Overheating and Shutdowns
Most shutdowns are preventable with proper maintenance and placement.
Clear Airflow Blockages
Restricted airflow triggers thermal cut-offs. Ensure 3 feet of clearance on all sides, no furniture curtains or bedding nearby, and intake and exhaust grilles are dust-free.
Clean the Heater Regularly
Dust buildup insulates the element, causing overheating. Cleaning steps include unplugging and cooling completely, using compressed air to blow out dust from heating coils, fan blades, and vents, then wiping with a dry or alcohol-dampened cloth. Never use water. Do this before each heating season and monthly during use.
Fixing Physical Damage to Your Space Heater
Cracks and breaks compromise safety but can often be repaired.
Repair a Broken Housing
Cracks or broken latches compromise safety. Repair with epoxy resin for plastic cracks, super glue for small breaks, or zip ties to reinforce split casings. For structural damage, add metal brackets or retire the unit.
Align the Fan
If the fan scrapes or stalls, add plastic washers or cardboard shims between motor and housing. Ensure even spacing all around and test rotation by hand before powering on.
When to Repair vs. Replace Your Space Heater
Sometimes replacement makes more sense than repair.
Repair If
Only one component is faulty, you have tools and basic electrical skills, the heater is high-end or sentimental, or parts cost under $20.
Replace If
The heating element is burned out, multiple components are damaged, the unit is older than 10 years, repair cost exceeds 50% of a new model, or safety features are missing or bypassed. Most basic heaters cost $25 to $100. If parts and labor outweigh that, replacement is smarter and safer.
Safety First: Critical Precautions During Repair
Electricity and heat are dangerous combinations. Follow these rules strictly.
During Repair
Always unplug the heater. Wait 30 or more minutes after use, as elements stay hot. Work in a dry well-lit area. Use insulated tools and wear gloves. Label wires before disconnecting.
After Repair
Test in a safe open area. Watch for smoke, burning smells, or sparks. Run for 5 minutes, then check for overheating.
General Usage Rules
Plug directly into a wall outlet. Never leave unattended. Keep away from water and flammable materials. Install smoke detectors nearby.
Essential Tools and Parts for Space Heater Repair
Having the right tools makes repairs possible.
Must-Have Tools
You need Phillips screwdrivers, needle-nose pliers, wire strippers and cutters, a digital multimeter, a soldering iron, and compressed air.
Common Replacement Parts
Thermal fuses cost $5 to $10. Power cords run $8 to $15. Capacitors are $6 to $12. Thermostats cost $10 to $20. Fan motors are $15 to $25.
Real-World Success Tips for Space Heater Repair
Clean Before Replacing
Many dead heaters just need cleaning. One user revived a 3-year-old heater by removing a thick dust mat from the coil with compressed air. No parts replaced.
Use Repair Cafés
Free community events offer expert help. Volunteers can diagnose issues, source parts, and guide repairs. Ideal if you’re unsure.
Check iFixit Guides
Visit iFixit.com for model-specific teardowns and repair walkthroughs. Many include photos, part numbers, and troubleshooting trees.
Frequently Asked Questions About Fixing a Broken Space Heater
Why won’t my space heater turn on at all?
Start by testing the outlet with another device. Check for tripped breakers or GFCI outlets. Inspect the power cord for damage. If the outlet works and cord is intact, the thermal fuse or internal wiring likely failed.
Can I fix a space heater that blows cold air?
Yes. First, reset the heater by unplugging it for 10 to 15 minutes. Check the tip-over switch. If those don’t work, test the thermal fuse and heating element with a multimeter. Replace any failed components.
How much does it cost to repair a space heater?
Most repairs cost $5 to $25 for parts. Thermal fuses are $5 to $10. Capacitors run $6 to $12. If the heating element is burned out, replacement often isn’t cost-effective on budget units.
Is it safe to bypass the thermostat on a space heater?
Only as a temporary emergency measure under constant supervision. Bypassing disables tip-over protection and overheat shutoff. Never leave the heater unattended or operate while sleeping.
How do I know when to replace instead of repair?
Replace if the unit is over 10 years old, the heating element is burned out, multiple components failed, or repair costs exceed half the price of a new heater.
Can dust buildup really cause heater failure?
Yes. Dust insulates heating elements, causing them to overheat and trip thermal fuses. Regular cleaning before each season prevents this common failure mode.
Key Takeaways for Fixing Your Broken Space Heater
Most broken space heaters can be fixed with basic tools and less than $25 in parts. Start with power checks, test the thermal fuse and fan motor, and clean internal dust. Replace failed components or use a controlled bypass for emergency heat. Always prioritize safety over convenience. When in doubt, replace the unit or seek professional help.
With proper care, a repaired heater can last years, saving money and reducing electronic waste. Regular cleaning and proper placement prevent most failures before they happen.