A puddle forming under your water heater is never a good sign. When your water heater is leaking at the bottom, every minute counts. Water damage can escalate fast, soaking floors, damaging drywall, and inviting mold growth within hours. Your first move should be shutting off power and water to the unit. Once things are safe, you need to identify where the leak is coming from. Bottom leaks often point to serious issues like tank corrosion, but sometimes the culprit is a simple drain valve you can replace yourself.
This guide walks you through emergency steps, the most common causes of bottom leaks, how to diagnose the problem, and how to decide between repair and replacement. You will also learn what maintenance prevents future leaks and when calling a plumber is the smartest choice.
Emergency Steps When Your Water Heater Leaks at the Bottom

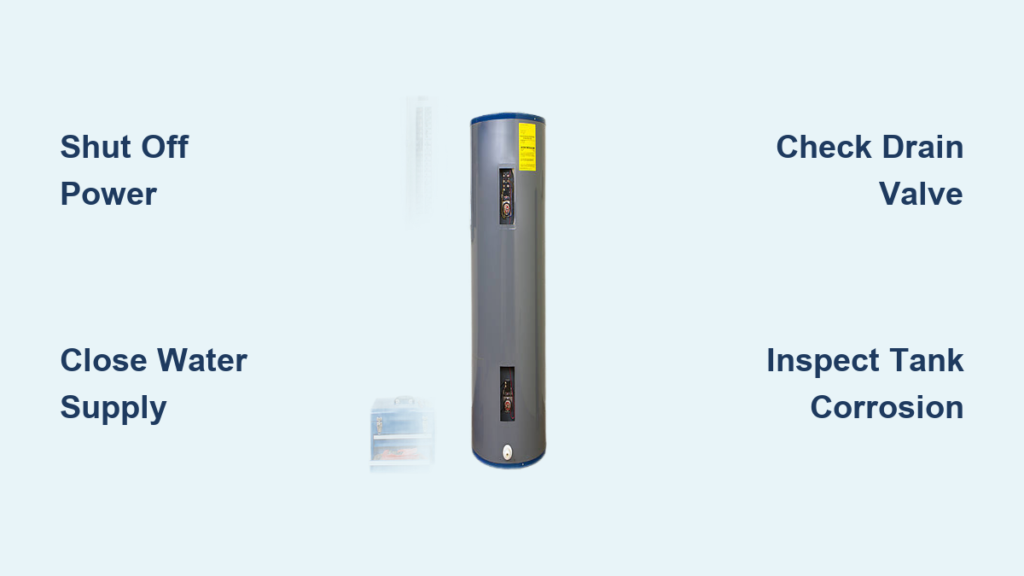
Shut Off Power and Water Immediately
Your safety is the top priority. Take these actions before anything else:
- Electric heater: Flip the breaker labeled “water heater” to OFF at your electrical panel.
- Gas heater: Turn the gas control knob to OFF or pilot.
- Cold water supply: Close the shutoff valve on the cold water pipe entering the top of the heater. Turn it clockwise. If it is stuck, shut off your home’s main water supply.
Never work on a water heater that is still powered or pressurized. The risks include electrocution, scalding, and gas leaks.
Relieve Pressure in the Tank
Open a hot water faucet somewhere in your home, like a sink or bathtub. This releases pressure inside the tank and can slow the leak. Leave the faucet open until repairs are complete.
Identify Where the Water Is Coming From
Grab a flashlight and dry the area around the base with towels. Then place paper towels or cardboard around the bottom of the tank. Wait 10 to 15 minutes without running any water. Check where moisture shows up:
- Wet near the valve: Likely a failing drain valve.
- Wet under the tank or along seams: Tank corrosion, which means replacement.
- Rusty water: Internal rust is present and the tank is failing.
Common Causes of a Water Heater Leaking at the Bottom
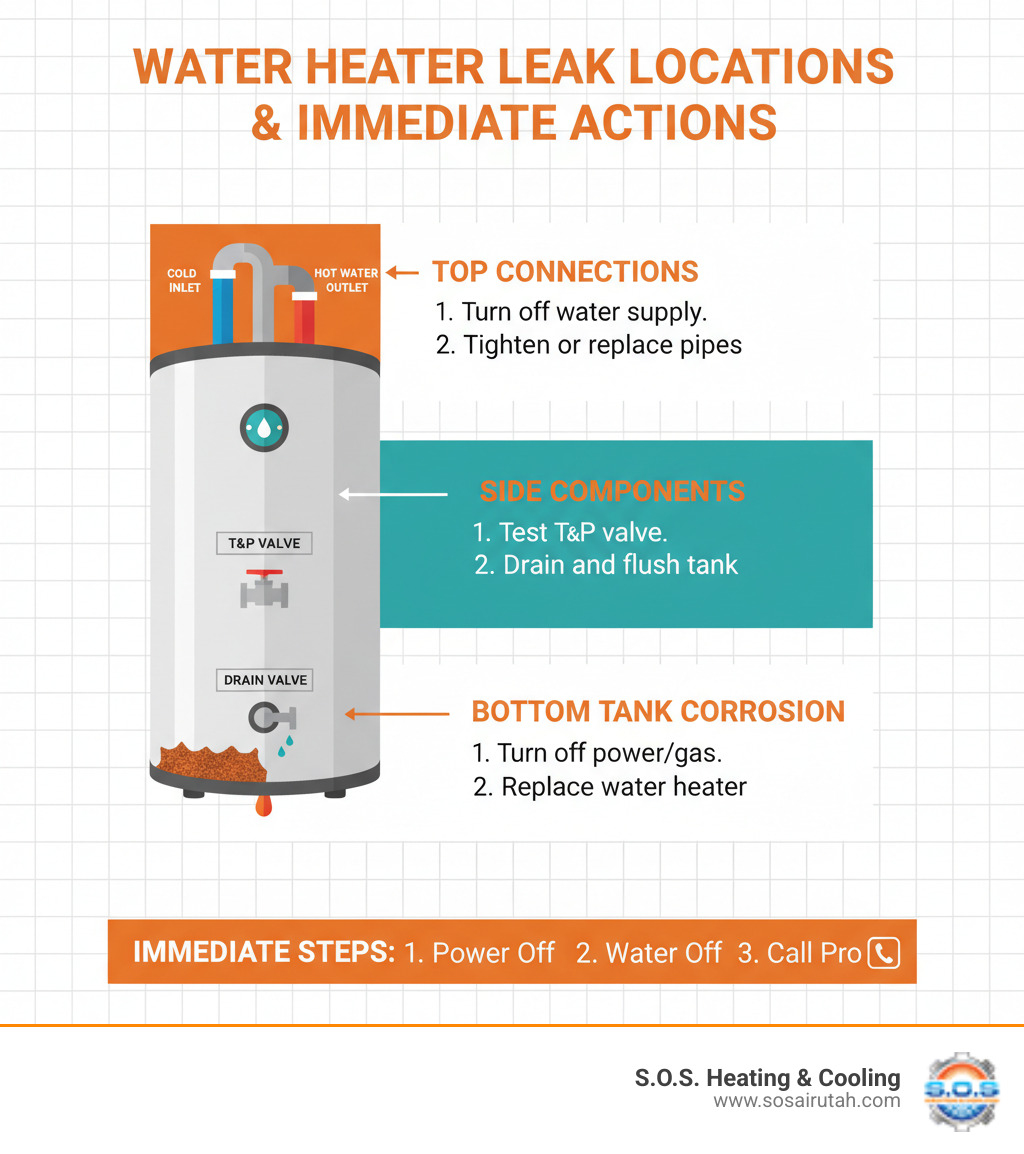
Failing Drain Valve (Repairable)
The drain valve sits at the base of your water heater and lets you flush sediment during maintenance. Most residential units have plastic drain valves, and they tend to fail after 8 to 10 years.
Signs the drain valve is the problem:
– Dripping from the valve or hose connection
– Moisture localized near the valve, not under the tank
– Leaks even when the valve is fully closed
How to fix it:
1. Drain the tank through the valve into a bucket or floor drain.
2. Use a wrench to unscrew the old valve by turning it counterclockwise.
3. Install a new brass drain valve for better durability.
4. Restore the water supply and check for leaks.
This repair is DIY-friendly and usually takes under an hour.
Sediment Buildup and Overheating (Potentially Repairable)
Hard water leaves mineral deposits that settle at the bottom of the tank. Over time, this sediment layer insulates the metal from the water inside, causing the steel to overheat and weaken.
Signs of sediment problems:
– Popping or rumbling sounds from the heater
– Reduced hot water supply
– Leaks appearing after years without maintenance
What happens next: The overheated tank bottom corrodes, leading to pinhole leaks or catastrophic failure.
How to fix it: Flush the tank annually to prevent buildup. If you catch the problem early, flushing may extend the tank’s life. However, once corrosion has started, no patch or sealant will hold. Replacement is the only permanent solution.
Tank Corrosion (Not Repairable)
This is the worst-case scenario. The steel tank has rusted through due to age, lack of maintenance, or a failed anode rod.
Signs of tank failure:
– Water pooling under the tank, not from any valve
– Rust stains on the tank’s exterior
– Rusty hot water coming from your faucets
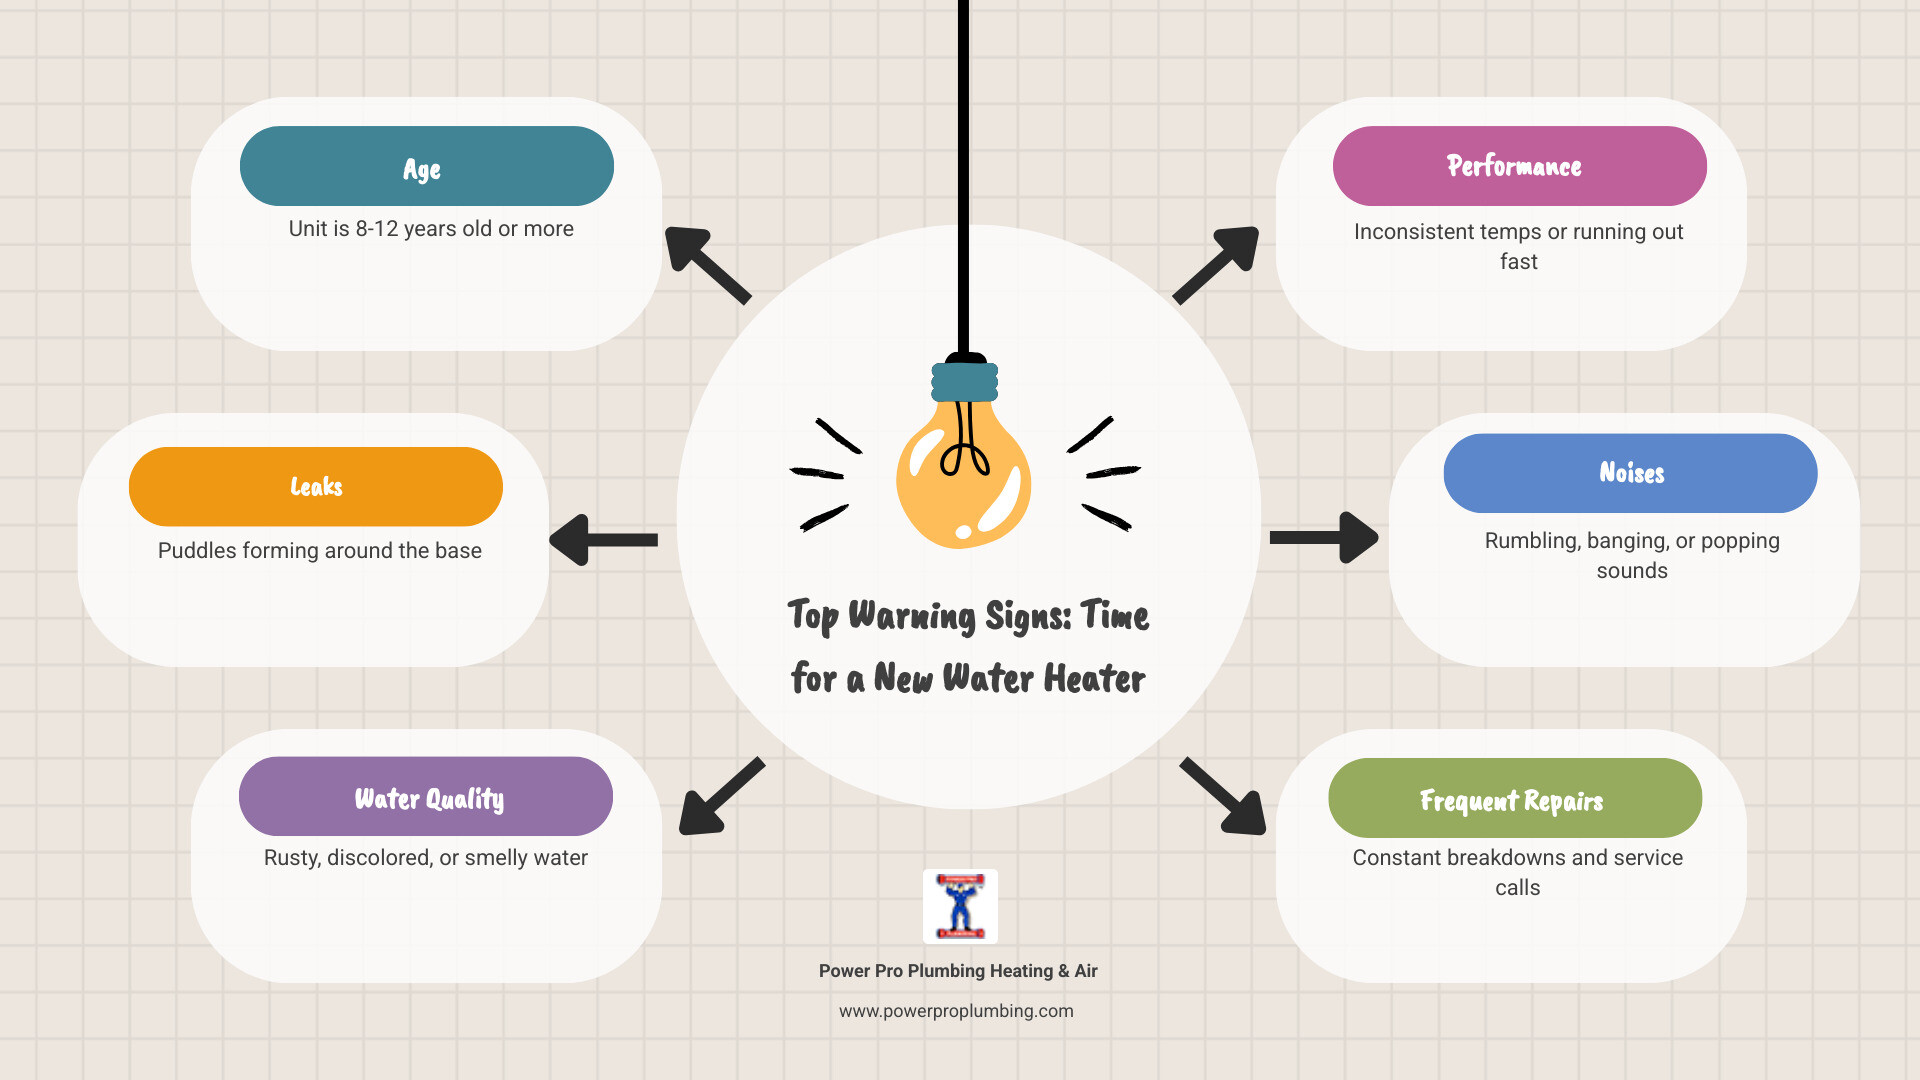
– Unit is over 8 years old
Why it cannot be fixed: The tank’s structural integrity is compromised. Welds and seams are failing. Even if you patch one spot, other areas will leak soon afterward. Replacement is the only safe option. Delaying risks a sudden tank rupture and major flooding.
How to Diagnose the Leak Source

Quick Leak Test
- Dry the entire base and surrounding floor completely.
- Place white paper towels around the bottom edge of the tank.
- Wait 15 minutes without running any water.
- Check where the paper is wet:
– Wet near the valve: Drain valve issue.
– Wet under the tank or along the side: Tank failure.
– Wet near the base but not at the valve: Possible heating element gasket leak on electric models.
Check the Anode Rod
The anode rod is a sacrificial component that corrodes instead of your tank. When it is gone, the tank becomes vulnerable.
- Located on top of the heater, sometimes hidden under a cap.
- Should be replaced every 3 to 5 years.
- If the rod is thin, cracked, or fully corroded, tank failure is likely coming soon.
Replacing the anode rod will not fix an already corroded tank, but it can extend the life of a healthy one.
Repair vs. Replace: Making the Right Decision
Repair Makes Sense If:
- The leak comes from the drain valve (cheap and easy to fix).
- The unit is under 6 years old.
- You have maintained it with annual flushes.
- There are no signs of rust in the water or on the tank.
Replacing a drain valve costs roughly $20 to $50 for DIY or $150 to $300 if you hire a plumber.
Replacement Is the Better Choice If:
- The leak comes from the tank body or seams.
- The water heater is 8 or more years old.
- You see rust on the tank or rusty hot water.
- The leak follows sediment-related overheating.
- You have had repeated issues like T&P valve failures, leaks, or unusual noises.
Average replacement costs run $800 to $1,500 depending on the type and labor.
Pro Tip: Consider upgrading to a tankless water heater. They last 20 or more years and save space.
Can You Fix It Yourself?
Safe DIY Repairs:
- Tightening loose connections at the top fittings or T&P valve
- Replacing the drain valve after draining the tank
- Flushing sediment as preventive maintenance
Leave These to Professionals:
- Tank replacement (involves plumbing and electrical or gas work)
- Gas line disconnection and reconnection
- Electrical wiring on 240V circuits
- Diagnosing hidden corrosion
If you are unsure about any step, call a licensed plumber. A mistake can lead to leaks, fire, or carbon monoxide exposure on gas units.
How to Prevent Future Leaks
Annual Maintenance Routine
- Flush the tank to remove sediment.
- Inspect the anode rod and replace it if worn.
- Check all connections for drips or corrosion.
- Test the T&P valve by lifting the lever briefly. Water should release and then stop.
Install Leak Protection Devices
- Water heater pan with a drain line leading to a floor drain.
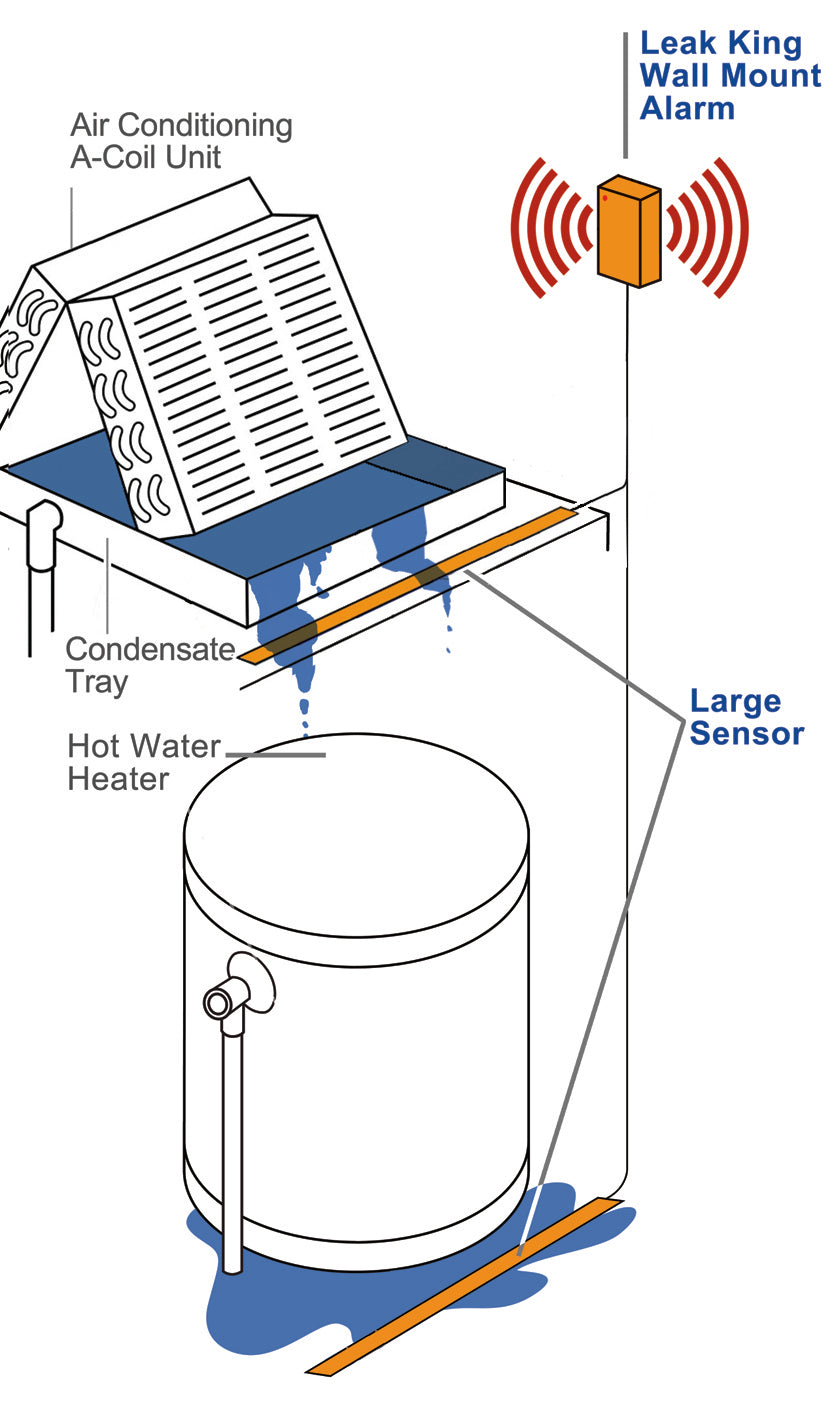
- Leak detection alarm that sits on the floor near the unit and sounds when wet.
- Automatic shutoff valve that cuts water if a leak is detected.
These tools can prevent thousands of dollars in damage from slow leaks.
When to Call a Plumber
Reach out to a professional right away if:
- Water is pooling rapidly around the base.
- The leak is under the tank, not from a valve.
- The unit is over 10 years old and has never been flushed.
- You smell gas (for gas heaters).
- You are unsure of the leak source.
A licensed plumber can diagnose corrosion, pressure problems, or failing components quickly and help you avoid a disaster.
Frequently Asked Questions About Water Heater Leaks
What should I do if my water heater is leaking at the bottom?
Turn off the power and water supply immediately. If the leak is from the tank itself, replacement is usually required. If it is from the drain valve, the repair may be simple and affordable.
Why is my water heater leaking from the bottom?
Common causes include a failing drain valve, sediment buildup, or internal tank corrosion. Only a proper inspection can confirm which one is affecting your unit.
Can a water heater leak from the bottom without the tank failing?
Yes. A drain valve or heating element gasket can leak without the tank itself being damaged. Both are repairable without replacing the whole unit.
How long does a water heater last?
Most tank water heaters last between 8 and 12 years depending on usage and maintenance habits.
Should I repair or replace a leaking water heater?
For newer units with isolated issues, scheduling a repair makes sense. For older systems or when the tank itself is leaking, getting a replacement quote is the safer path.
Key Takeaways for Dealing With a Water Heater Leaking at the Bottom
A water heater leaking at the bottom is a warning you should not ignore. Some causes, like a faulty drain valve, are quick and inexpensive fixes. Others, like tank corrosion, mean replacement is unavoidable. Your first steps are always the same: shut off power and water, relieve pressure, and identify the source.
If your unit is over 8 years old, shows signs of rust, or has a leak coming from under the tank, replacement is the smarter and safer choice. Schedule annual maintenance to extend the life of your next water heater, and install leak detection devices to catch problems early. When in doubt, call a licensed plumber. Acting fast protects your home and your wallet.