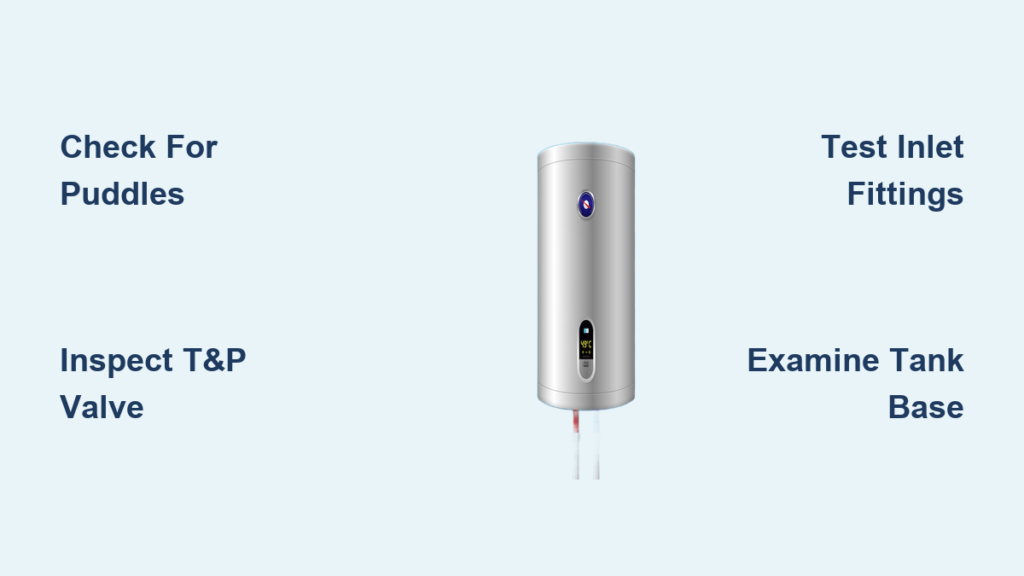
You walk past your water heater and spot a puddle forming on the floor. Your first instinct might be to panic, but staying calm and knowing what to look for makes all the difference. A leaking water heater can cause serious water damage, mold growth, and even safety hazards if left unchecked. The key is catching the problem early before it turns into a costly disaster.
This guide walks you through exactly how to tell if your water heater is leaking, where the water might be coming from, and what to do next. You’ll learn how to spot hidden warning signs, identify the leak source, and decide whether a simple repair or a full replacement is the right move.
Emergency Steps When You Spot Water Near Your Water Heater
Acting quickly limits damage and keeps your household safe.
Confirm the Water Is Actually a Leak
Not every puddle means your tank is failing. Condensation can mimic a leak, especially in humid basements or when cold water refills a warm tank. Electric heaters often “sweat” during temperature changes, and gas units may produce brief moisture when restarting.
To confirm a real leak, dry the area completely with towels and watch closely. If new moisture keeps appearing and pooling without evaporating, you’re dealing with an active leak that needs attention.
Shut Off the Water Supply
Find the cold water shut-off valve located on the inlet pipe at the top of the heater. Turn it clockwise until fully closed. This stops additional water from entering the tank and prevents the leak from getting worse.
Cut Power or Gas to the Unit
Never troubleshoot a water heater while it’s still energized. For electric models, flip the dedicated breaker to the “Off” position at your electrical panel. For gas units, turn the thermostat dial to “Pilot” or close the gas shut-off valve nearby.
Operating a heater with low water levels can burn out heating elements or, in extreme cases, cause a tank rupture.
Drain the Tank If You Can’t Get Help Right Away
If a plumber isn’t available immediately, draining the tank reduces potential water damage. Attach a standard garden hose to the drain valve at the bottom of the tank and route it to a floor drain, utility sink, or outside. Open the valve to empty the tank safely.
Clean Up and Document the Damage
Remove standing water using towels, a mop, or a wet vacuum. Take clear photographs of the leak source, pooling water, and any damage to flooring, walls, or nearby belongings. This documentation is invaluable if you need to file an insurance claim.
Pinpoint the Leak Source by Location

Where water appears tells you what’s failing and how serious the problem is.
Top Leaks: Fittings and Valves
Leaks near the top of the tank are often the easiest to fix without replacing the unit.
Check the inlet and outlet pipes. Look for wetness around the cold water inlet and hot water outlet connections. Thermal expansion and vibration can loosen these fittings over time. A gentle tightening with a wrench often solves the problem, but avoid over-tightening, which can crack the fittings.
Test the T&P relief valve. The temperature and pressure relief valve sits on the top or upper side of the tank. If you see drips from the valve or its discharge pipe, high water pressure, overheating, or a faulty mechanism may be to blame. Occasional discharge is normal, but constant dripping means the valve needs replacement.
Side Leaks: Pressure Relief Issues
Moisture running down the side of the tank usually traces back to the T&P valve. Follow the discharge pipe (typically copper or metal) from the valve to the floor and check for wet spots, corrosion, or active drips.
In humid climates, condensation can also run down the tank exterior. If moisture only appears during warm weather or after heavy cold water use, improving ventilation or adding tank insulation may resolve the issue.
Bottom Leaks: Serious Tank Trouble
Leaks at the base of the unit are the most concerning and often signal that replacement is unavoidable.
Examine the drain valve. This valve sits near the bottom of the tank with a hose connection point. A slow drip or puddle directly underneath often means sediment buildup, corrosion, or a loose valve. If the tank itself is sound, replacing the drain valve is a straightforward fix.
Look for tank corrosion. Inspect the base for rust, bulging, or pinhole leaks. Listen for rumbling or popping sounds, which indicate sediment heating at the bottom. A corroded or cracked tank cannot be repaired and requires full replacement.
Check the anode rod if accessible. This sacrificial rod protects the tank from rust. A healthy rod looks smooth and slightly worn. If less than half an inch of core wire remains or you see heavy corrosion, the rod has failed and the tank is no longer protected from internal rust.
Common Causes of Water Heater Leaks

Knowing why leaks happen helps you prevent them in the future.
Age and General Wear
Most water heaters last 8 to 12 years, depending on type and maintenance. As units age, seals weaken, corrosion accelerates, and components fail. If your heater is over a decade old and leaking from the tank body, replacement is almost always the smarter investment.
Failed Anode Rod
The anode rod sacrifices itself to protect the tank from corrosion. It typically lasts 3 to 5 years, though hard water can shorten that window. Once depleted, the tank begins rusting from the inside out. Replacing the rod every few years can effectively double your tank’s lifespan in hard water conditions.
Sediment Buildup
Hard water leaves mineral deposits that settle at the tank bottom. This layer forces the heater to work harder, causes overheating, and eventually leads to cracks. Flushing the tank annually removes sediment before it causes irreversible damage.
High Water Pressure
Pressure above 80 psi stresses every connection and joint in the system. It can force the T&P valve to open repeatedly and cause leaks at fittings. Test your pressure with a gauge on an outdoor spigot, and install a pressure-reducing valve or expansion tank if readings run high.
Hidden Signs Your Water Heater Is Failing
Not all leaks announce themselves with a puddle. Watch for these subtle warnings.
Strange Noises
Rumbling, popping, or cracking sounds usually mean sediment is boiling at the bottom of the tank. This overheating weakens the tank walls over time. Flushing the tank can resolve the issue if caught early.
Rusty or Cloudy Water
Discolored water from your hot taps signals internal corrosion. Run hot water into a white sink or bucket. If it appears brown or has a metallic smell, your tank or anode rod is degrading.
Leaks That Only Happen During Heating
If water appears only when the heater is actively running, a faulty T&P valve releasing excess pressure is the likely culprit. Internal cracks that expand under heat can also cause this pattern. Test your water pressure, lower the thermostat, or replace the valve as needed.
Moisture or Water Stains
Even small damp spots around valves, connections, or the tank base deserve attention. Catching moisture early often means the difference between a simple repair and a full replacement.
Repair vs. Replace: Making the Right Call

Not every leak means buying a new water heater. Here’s how to decide.
When Repairs Make Sense
Loose pipe fittings can usually be tightened with an adjustable wrench in minutes. Faulty T&P valves are moderately DIY-friendly: shut off power and water, drain a few gallons, remove the old valve, and install a new code-compliant replacement for around $20 to $50. Bad drain valves require draining the tank, swapping in a new quarter-turn valve, and using Teflon tape on the threads for a solid seal.
When Replacement Is the Only Option
A cracked or corroded tank cannot be repaired and poses a risk of sudden rupture. Units over 10 years old with leaks often have other failing components, making repeated repairs a poor investment. If you’ve already made multiple repairs, the system is signaling its overall decline. Newer models offer better efficiency, longer warranties, and greater reliability.
Prevent Leaks With Routine Maintenance
A little regular care prevents most emergencies.
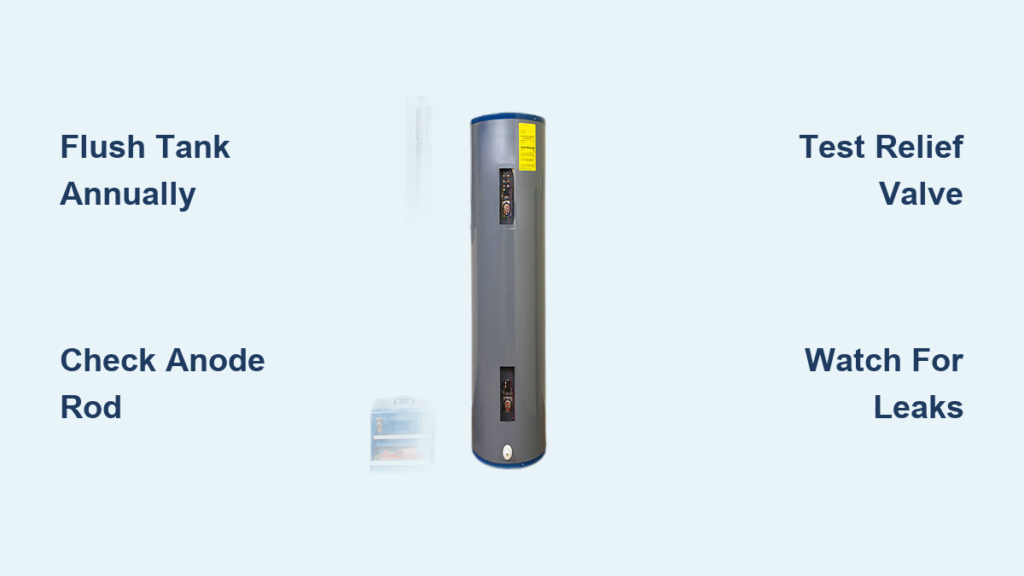
Flush the Tank Annually
Removing sediment protects against corrosion and overheating. Turn off power and water, connect a hose to the drain valve, and let water run until clear. The whole process takes 30 to 60 minutes and significantly extends tank life.
Test the T&P Valve Yearly
Lift the valve’s lever briefly to release water, then let it snap back. Water should flow momentarily and stop completely. If it continues dripping afterward, replace the valve.
Replace the Anode Rod Every 3 to 5 Years
This simple task costs $30 to $60 and requires only a socket wrench. In hard water areas, it’s the single most effective way to prevent premature tank failure.
Monitor Water Pressure
Keep pressure below 80 psi using a $10 gauge on an outdoor spigot. Install a pressure-reducing valve if readings consistently run high.
Do Quick Visual Inspections Monthly
Spend two minutes each month checking valves for drips, connections for moisture, the tank body for rust or bulges, and the floor for damp spots. Early detection saves thousands in potential damage.
Risks of Ignoring a Water Heater Leak
What seems like a small problem can escalate quickly.
Structural Damage
Water seeps into subfloors, walls, and joists, weakening structural elements. Repair costs can easily exceed $5,000, and mold can begin growing within 48 hours of moisture exposure.
Mold and Health Hazards
Damp basements and utility rooms create ideal conditions for mold growth. This triggers allergies, asthma, and other respiratory issues, often requiring professional remediation.
Electrical and Gas Dangers
Water near electrical components creates shock hazards. Gas units with leaks near burners pose fire and explosion risks. A malfunctioning T&P valve combined with pressure buildup can, in rare cases, cause a tank rupture.
Treat Every Leak as an Emergency
A leaking water heater qualifies as an emergency situation. If you see pooling water or base leaks, act immediately. Call a licensed plumber if you cannot identify or stop the source yourself.
Frequently Asked Questions About Water Heater Leaks
How can I tell if my water heater is leaking or just sweating from condensation?
Dry the area completely and watch for new moisture. Condensation appears briefly during temperature changes and evaporates quickly. A true leak produces continuous dripping or pooling that doesn’t go away on its own.
Where do water heaters usually leak from?
The most common leak points are the cold water inlet and hot water outlet fittings at the top, the T&P relief valve on the upper side, the drain valve at the bottom, and the tank body itself when corrosion has set in.
Is a leaking water heater an emergency?
Yes. Even small leaks can lead to structural damage, mold growth, and safety hazards within days. Shut off water and power immediately, then contact a plumber if you cannot resolve the issue yourself.
Can a water heater leak be repaired, or do I need a replacement?
It depends on the source. Loose fittings, faulty valves, and high pressure are all repairable. However, a cracked or corroded tank cannot be fixed and requires full replacement, especially if the unit is over 10 years old.
How long do water heaters typically last before leaking?
Standard water heaters last 8 to 12 years with proper maintenance. Units in hard water areas or those without anode rod replacements may fail sooner. Some specialized systems can reach 20 years with excellent care.
What does it cost to fix a water heater leak?
Simple repairs like replacing a T&P valve or drain valve cost $20 to $50 for parts plus potential labor. Full tank replacement typically ranges from $800 to $2,500 depending on the unit type and installation complexity.
Key Takeaways for Detecting a Water Heater Leak
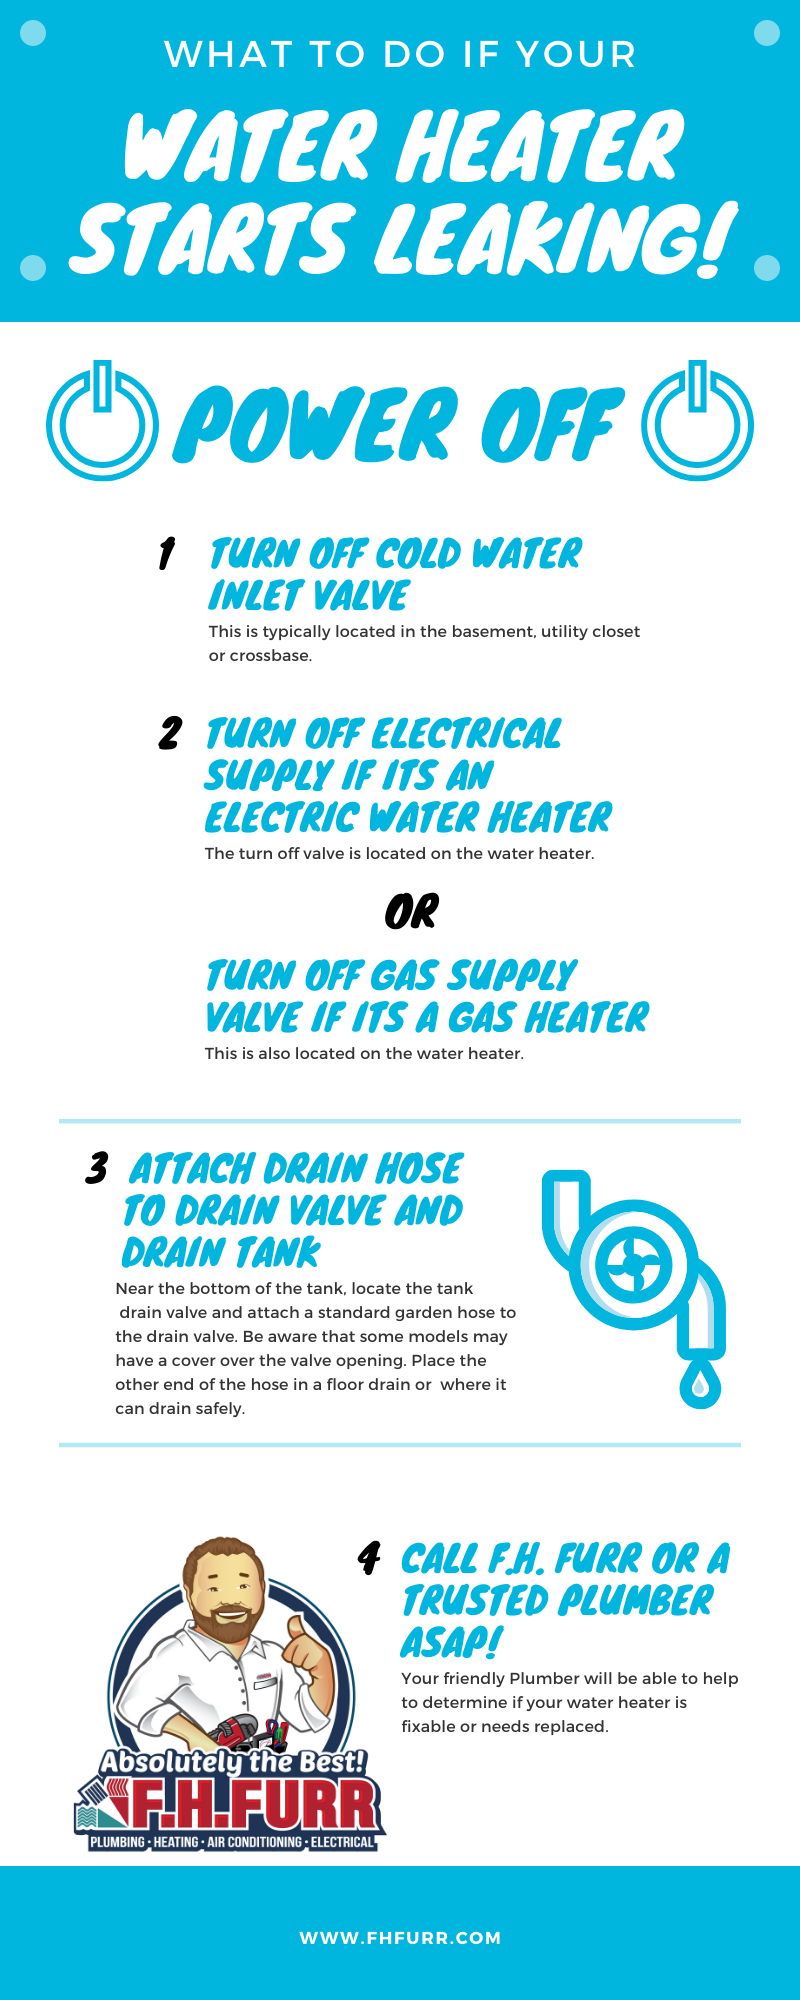
Spotting a water heater leak early protects your home, health, and wallet. Start by confirming the leak, then shut off water and power before investigating further. Top and side leaks from fittings or valves are usually fixable with basic tools and inexpensive parts. Bottom leaks or tank corrosion almost always mean replacement is unavoidable, especially on units over 10 years old.
Make annual maintenance a habit: flush the tank, test the T&P valve, and replace the anode rod every few years. These simple steps prevent most catastrophic failures and extend your heater’s lifespan significantly.
Your next step: Set a reminder to inspect your water heater this month. Check for moisture, listen for unusual sounds, and test your water pressure. If anything seems off, address it now, before a small drip becomes a flooded basement.