Few things ruin a morning faster than an ice-cold shower when you expected hot water. If your electric water heater produces only lukewarm water or runs out quickly, a failed heating element is the most likely cause. The good news is that replacing a water heater element is a manageable DIY repair for homeowners comfortable with basic electrical and plumbing work. Done correctly, this fix restores full hot water capacity and can extend your water heater’s life by several years. This guide covers everything from diagnosing the bad element to safely installing a new one, so you can tackle the job with confidence.
Before grabbing any tools, understand that this project involves 240-volt electricity and a tank full of pressurized hot water. Mistakes can cause serious injury, fire, or flooding. Always shut off power at the breaker, drain the tank fully, and verify wires are dead before touching them. If you feel unsure about working with electrical circuits, hiring a licensed electrician is the smart move. With those cautions in mind, here is exactly how to replace a water heater element the right way.
Diagnose the Faulty Heating Element

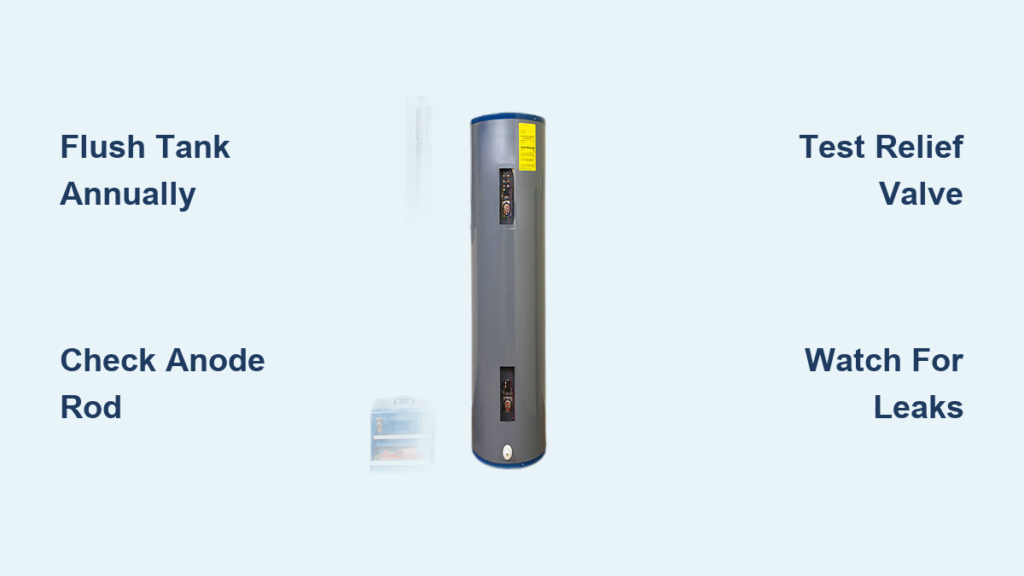
Electric water heaters contain two heating elements (upper and lower) that warm water in stages. The top element heats the upper portion of the tank first, then the bottom element takes over to finish the job. When one element fails, you still get some hot water, but the supply runs out much faster than normal. Testing confirms which element is bad so you replace only what is necessary.
Test for Continuity With a Multimeter
A multimeter tells you instantly whether an element is functional or burned out. Follow these steps for an accurate reading:
- Turn off power at the main electrical panel by flipping the breaker labeled “Water Heater” to OFF.
- Remove the access panel on the side of the heater using a screwdriver, then fold back the insulation to expose the element’s terminal block.
- Verify no power by touching a non-contact voltage tester to the wires. If it beeps or lights up, power is still live and you must stop immediately.
- Disconnect the wires from the element terminals by loosening the screws and gently pulling them free.
- Set your multimeter to OHMs (Ω) or continuity mode.
- Touch one probe to each terminal screw on the element.
- A good reading shows a resistance value (typically 10 to 16 ohms), meaning the element works.
- A faulty reading shows zero on a digital meter or no needle movement on an analog dial, meaning no electricity flows and the element must be replaced.
If both elements show no continuity, the problem may lie with the thermostats instead, since they control power delivery to the elements.
Spot the Warning Signs Before Testing
You can often suspect a bad element without any tools. Watch for these common symptoms:
- Lukewarm water that turns cold within minutes
- No hot water at all
- A circuit breaker that trips repeatedly after running the heater
- Visible corrosion or rust on the element terminals
Water heaters older than 8 to 10 years experience element failure more often due to mineral buildup and general wear. Even if only one element tests bad, replacing both at the same time is wise, since the second element is likely to fail soon anyway.
Prepare for a Safe Replacement
A water heater stores 40 to 80 gallons of pressurized water and operates on high-voltage electricity. One careless move can result in burns, shock, or property damage. Proper preparation protects both you and your home.
Shut Off Power and Water Supply
Start by cutting all energy sources to the unit:
- Cut electricity at the breaker box, then double-check by testing the wires with a voltage tester.
- Close the cold water inlet valve at the top of the heater by turning it clockwise until snug.
- Open a hot water faucet somewhere in the house to break the vacuum and allow the tank to drain smoothly.
Drain the Tank Completely
The water level must drop below the element before removal:
- Attach a garden hose to the drain valve at the bottom of the heater.
- Run the hose to a floor drain, sump pump, or outside area where hot water will not damage plants or surfaces.
- Open the drain valve and let the tank empty. Draining takes 20 to 60 minutes depending on tank size and sediment buildup.
If water flows slowly, opening the temperature and pressure relief valve on the side of the tank lets air in and speeds up drainage. Once empty, close the drain valve and remove the hose.
Remove the Old Heating Element
With the tank drained and power confirmed off, you are ready to extract the faulty element. The removal process differs slightly depending on whether your heater uses a screw-in or flange-style element.
Access the Element Terminal Block
- Remove the access panel if you have not already.
- Fold back the insulation carefully without compressing it, since compression reduces its insulating value.
- Take off the plastic terminal cover if one is present.
Look closely for signs of leaks, rust, or burnt wires around the element. These clues point to long-term problems that may require additional repairs beyond just swapping the element.
Disconnect Wires and Remove Mounting Hardware
- Label or photograph the wire positions and thermostat bracket placement to simplify reassembly later.
- Loosen the terminal screws and disconnect the wires, setting them safely aside.
- For flange-type elements, use a socket wrench to remove the four mounting bolts in a diagonal pattern to prevent warping the flange.
- For screw-in elements, use a 1 1/2-inch deep socket or a specialized element wrench and turn counterclockwise to unscrew the element from the tank.
Elements sometimes seize due to mineral deposits. If the element will not budge, apply penetrating oil and wait 15 minutes before trying again. Use steady pressure and never force it, since excessive force can damage the tank itself.
Extract the Old Gasket and Inspect the Opening
Pull out the old rubber gasket once the element is free. On screw-in types the gasket slides off the shaft, while flange types seat in a groove around the tank opening. Remove every fragment of old gasket material.
Inspect the tank opening for cracks, pitting, or heavy scale buildup. Clean the surface thoroughly with a rag or wire brush. A smooth, dry surface is essential for the new gasket to seal properly.
Install the New Water Heater Element

Accuracy during installation prevents leaks and premature failure. Take your time and double-check each step.
Choose the Correct Replacement Part
Elements are not interchangeable across models. Match these specifications exactly:
- Voltage (typically 240V)
- Wattage (common ratings include 3500W and 4500W)
- Flange style (screw-in versus 4-bolt flange)
- Element length and diameter for your specific tank size
Find these specs on the label of the old element or on the water heater’s data plate. Manufacturers like Rheem, AO Smith, and Bradford White often use proprietary designs, so verify compatibility before purchasing. Buying a repair kit that includes both elements and thermostats saves time and ensures you have matching parts on hand.
Position the New Gasket and Element
- For screw-in elements, slide the new gasket onto the threaded shaft before inserting it into the tank.
- For flange types, seat the new gasket into the recessed groove in the tank wall.
- Insert the element straight into the opening and avoid cross-threading, which damages the tank.
Secure the Element Properly
- Screw-in type: Hand-thread the element first, then tighten with a socket wrench to roughly 25 to 30 foot-pounds. The fit should be firm but not excessive.
- Flange type: Reinstall the four bolts and tighten them in a star pattern (diagonally opposite) to distribute pressure evenly. Over-tightening cracks the porcelain coating on the element and shortens its life.
Do not reconnect power yet. The tank must be completely full of water before electricity is safe to restore.
Refill the Tank and Check for Leaks

Powering an empty tank instantly destroys a new element through dry-firing. Filling the tank properly and inspecting for leaks prevents this costly mistake.
Reconnect Water Supply and Fill the Tank
- Close the drain valve securely.
- Turn on the cold water supply valve at the top of the heater.
- Leave a hot water faucet open elsewhere in the house.
As water enters the tank, air escapes through the open faucet. Wait until a steady stream of water flows with no sputtering, which signals the tank is full and all air pockets have purged.
Inspect the Element Connection for Leaks
While the tank fills, examine the new element closely for drips or seepage. If you spot any moisture, shut off the water supply immediately, tighten the element or flange bolts slightly, and reseat the gasket if needed. Placing a dry rag under the element catches small leaks you might otherwise miss.
Reconnect Wiring and Restore Power

Once the tank is full and leak-free, you can safely bring the system back online.
Inspect and Reattach the Wiring
- Check wire ends for corrosion or fraying.
- If corrosion is present and the wire is long enough, cut off 1/2 inch and strip fresh insulation.
- Wrap each wire clockwise around its terminal screw and tighten securely.
- Tug gently on each wire to confirm a solid mechanical connection.
Loose or corroded wires generate heat and create fire hazards. If terminals look burnt or wires feel brittle, stop and consult an electrician before proceeding.
Reassemble and Power Up
- Replace the plastic terminal cover if your model includes one.
- For flange-type units, reposition the thermostat against the tank wall and secure it under the bracket prongs.
- Fluff the insulation back into place without leaving gaps.
- Screw the access panel back on.
Return to the electrical panel and turn the water heater breaker back ON.
Test the System and Adjust Temperature
After restoring power, allow 1.5 to 3 hours for the tank to heat fully, depending on tank size and incoming water temperature.
Verify Hot Water Output
- Turn on a hot water faucet and let it run.
- Feel for gradually increasing heat over the first hour.
- Test again after the full heating cycle. Water should reach about 120°F at the tap, or whatever temperature you have set.
If no heat appears, check that the breaker has not tripped, re-test the element for continuity, and inspect thermostat operation.
Adjust the Thermostats if Needed
Most thermostats come preset to 120°F. To change the setting:
- Remove the thermostat cover, which may require a screwdriver.
- Turn the adjustment dial to your desired temperature (typically between 110°F and 140°F).
- Replace the cover and insulation.
Setting the temperature to 120°F reduces scalding risk and saves energy without sacrificing comfort.
Prevent Future Element Failures
/BHG-how-to-flush-a-water-heater-5DZyjeHjKD1Awe4bJ9H2jf-d3be25856769424db883b60c033143f.jpg)
A replacement is also an opportunity to extend your water heater’s service life. A few simple habits reduce the chance of repeat failures.
Flush the Tank Annually
Sediment buildup insulates the element from water, forcing it to overheat and burn out. Since you have already drained the tank during this repair, take a moment to flush out extra debris:
- Reconnect the garden hose and open the drain valve.
- Let a few more gallons flow until the water runs clear.
- Close the valve and refill the tank.
Performing this flush once a year keeps sediment under control.
Address Hard Water Issues
Mineral deposits accelerate element wear in regions with hard water. Installing a whole-house water softener reduces scaling significantly. Low-watt-density elements also resist scale buildup better than standard models, since they run cooler during operation.
Replace Elements Proactively
Rather than waiting for another failure, consider replacing both elements every 6 to 8 years, especially if you notice reduced hot water volume or longer recovery times. Proactive replacement is far cheaper than an emergency repair or a flooded basement.
Frequently Asked Questions About Water Heater Element Replacement
How long does it take to replace a water heater element?
The full process typically takes 2 to 4 hours, including draining the tank (20 to 60 minutes), swapping the element, refilling, and waiting for the water to heat. Rushing the job increases the risk of leaks or electrical mistakes.
Can I replace just one element, or should I replace both?
You can replace just the failed element, but replacing both at the same time is recommended. Elements of the same age tend to fail close together, and replacing both now saves you from draining the tank a second time within a year or two.
What happens if I turn the power back on before the tank is full?
Dry-firing destroys a new element within seconds. The element heats without water to absorb the energy, causing it to crack or burn out instantly. Always confirm a steady, sputtering-free stream of water from a hot faucet before restoring power.
Do I need to drain the entire tank to replace an element?
Yes. The water level must drop below the element location to remove and replace it safely. Attempting to work on a partially full tank causes water to spill out and creates a dangerous electrical hazard.
How do I know if my element is screw-in or flange-type?
Look at the mounting hardware once you remove the access panel. Screw-in elements have a single large hex head that turns with a 1 1/2-inch socket. Flange-style elements are secured by four bolts arranged around a circular plate. The style is also listed on the water heater’s data plate.
Is it safe to do this repair without professional help?
The repair is safe for homeowners comfortable with basic electrical work and plumbing, provided every safety step is followed. If you feel uncertain about testing wires with a multimeter, working inside an electrical panel, or handling pressurized plumbing, hiring a licensed electrician or plumber is the safer choice.
Key Takeaways for Replacing a Water Heater Element Successfully
Replacing a water heater element is one of the most cost-effective repairs a homeowner can make, often saving hundreds compared to replacing the entire unit or calling a plumber. The three most important points to remember are: always confirm power is off with a voltage tester before touching wires, match the replacement element’s voltage, wattage, and style exactly to the original, and never apply power until the tank is completely full and free of air pockets.
Your next step is to gather the correct replacement element and tools, then schedule a block of time when you can shut off hot water to the house for a few hours. Test the element first to confirm it has failed, then work through each phase methodically. With careful preparation and attention to detail, you will have reliable hot water flowing again by the end of the day.