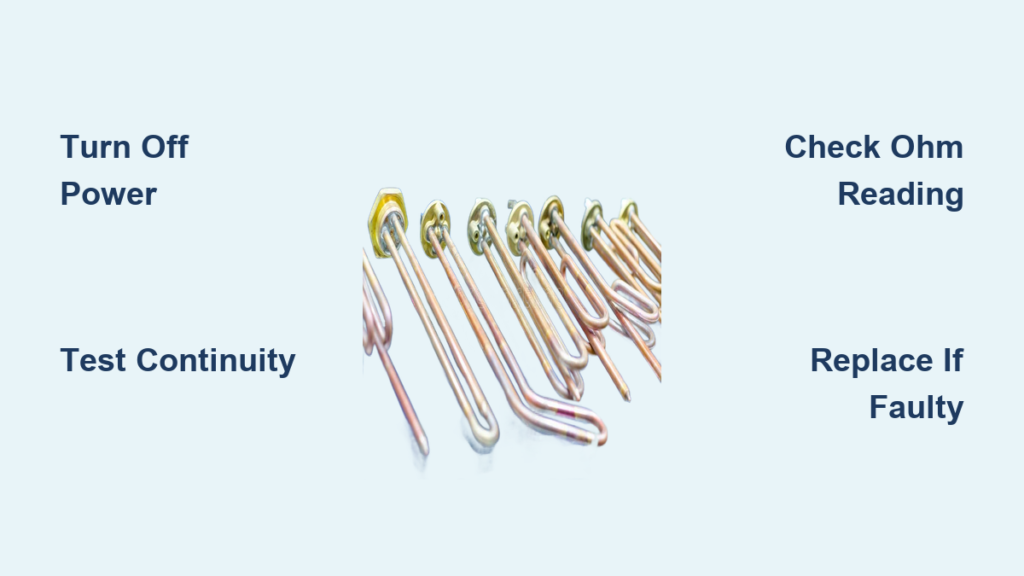
You turn on the faucet expecting hot water, but only cold comes out. A faulty heating element is one of the most common reasons an electric water heater stops working. Before calling a plumber or guessing which part to replace, you can check water heater element functionality yourself with basic tools. This guide shows you exactly how to test a water heater element safely and accurately, so you can pinpoint the real issue and avoid unnecessary repairs.
Turn Off Power to the Water Heater
Working with electricity requires caution. Water heaters run on 240 volts, which can cause serious injury or death if mishandled.
Shut off the breaker at the panel
Go to your home’s electrical panel and find the double-pole breaker labeled “water heater.” Flip it fully to the OFF position. Never assume the power is off based on the switch alone.
Verify power is disconnected
Even after flipping the breaker, use a voltage test pen at the water heater’s access panel. This confirms no live current is present before you proceed.
🔌 Pro Tip: Place a piece of tape over the breaker handle to prevent someone from accidentally turning it back on while you work.
Remove the Access Panels and Insulation
With power confirmed off, you can safely access the heating element.
Locate the element access points
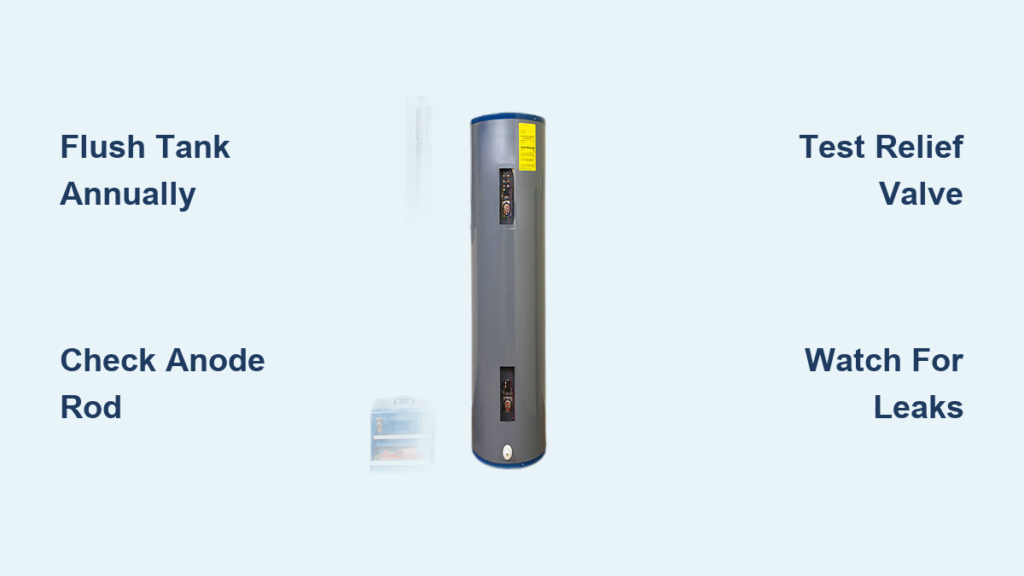
Electric water heaters have one or two access panels on the side of the tank. These panels cover the thermostats and heating elements.
Remove the metal cover
Use a screwdriver to remove the screws holding the metal access panel. Set the panel and screws aside in a safe place.
Pull back the insulation carefully
Behind the metal cover sits insulation that helps the tank retain heat. Gently push it aside to expose the thermostat and heating element. If your model has a plastic safety cover, remove that as well.
⚠️ Warning: Avoid damaging the insulation or thermostat wires. Compressing the insulation permanently reduces its effectiveness when reinstalled.
Disconnect the Wires from the Heating Element
The element must be electrically isolated before you can test it accurately.
Identify the heating element terminals
The heating element looks like a metal bolt extending into the tank, with two wire terminals connected to it. These terminals sit just below the thermostat.
Label and disconnect each wire
Take a photo or label each wire before disconnecting. Use a screwdriver to loosen the terminal screws and remove the wires. Fold them neatly to the side so they do not touch any metal surfaces.
🛠️ Note: If your water heater has two elements, repeat this process for both the upper and lower units.
Test the Element for Continuity

Now you can check the element using a multimeter.
Set the multimeter to Ohms
Turn your digital multimeter (such as a Fluke tester) to the Continuity or Ohm (Ω) setting, often marked with a horseshoe symbol. This setting measures resistance and tells you whether the element is intact.
Touch the probes to the terminals
Place one probe on each of the two screws on the heating element. Make sure both probes make solid contact with bare metal.
Read the resistance value
• A reading between 10 and 16 ohms (typically around 14 Ω) means the element is working.
• A reading of OL (open loop) or infinite resistance means the element is burned out and needs replacement.
• A reading of zero ohms suggests a short circuit, which also requires replacement.
✅ Quick Check: If your meter has a continuity setting, it should beep when the circuit is complete. No beep means the element is bad.
Repeat the Test for the Second Element

Dual-element water heaters require both elements to be tested individually.
Test the lower heating element
Follow the same steps: disconnect the wires, test for continuity, and record the reading. Most dual-element systems activate the upper element first, then the lower one.
Compare your readings
If one element shows OL or zero, that is likely the source of your problem. Even if one element works, a failed second element can cause insufficient or lukewarm water.
💡 Expert Insight: If both elements test good but the heater still fails, the thermostat or high-limit switch may be the actual issue.
Reconnect the Wires and Restore Power
Once testing is complete, reassemble everything carefully.
Reattach the wires securely
Connect each wire back to its proper terminal on the heating element. Tighten the screws firmly to prevent arcing or overheating.
Replace the plastic and metal covers
Reinstall the plastic safety cover if your model has one. Fluff the insulation back into place, then secure the metal access panel with screws.
Restore power at the breaker
Return to the electrical panel and flip the water heater breaker back to ON.
⏳ Wait Time: Allow 30 to 60 minutes for the tank to heat up. Avoid running hot water immediately so the system can cycle properly.
When to Replace the Heating Element
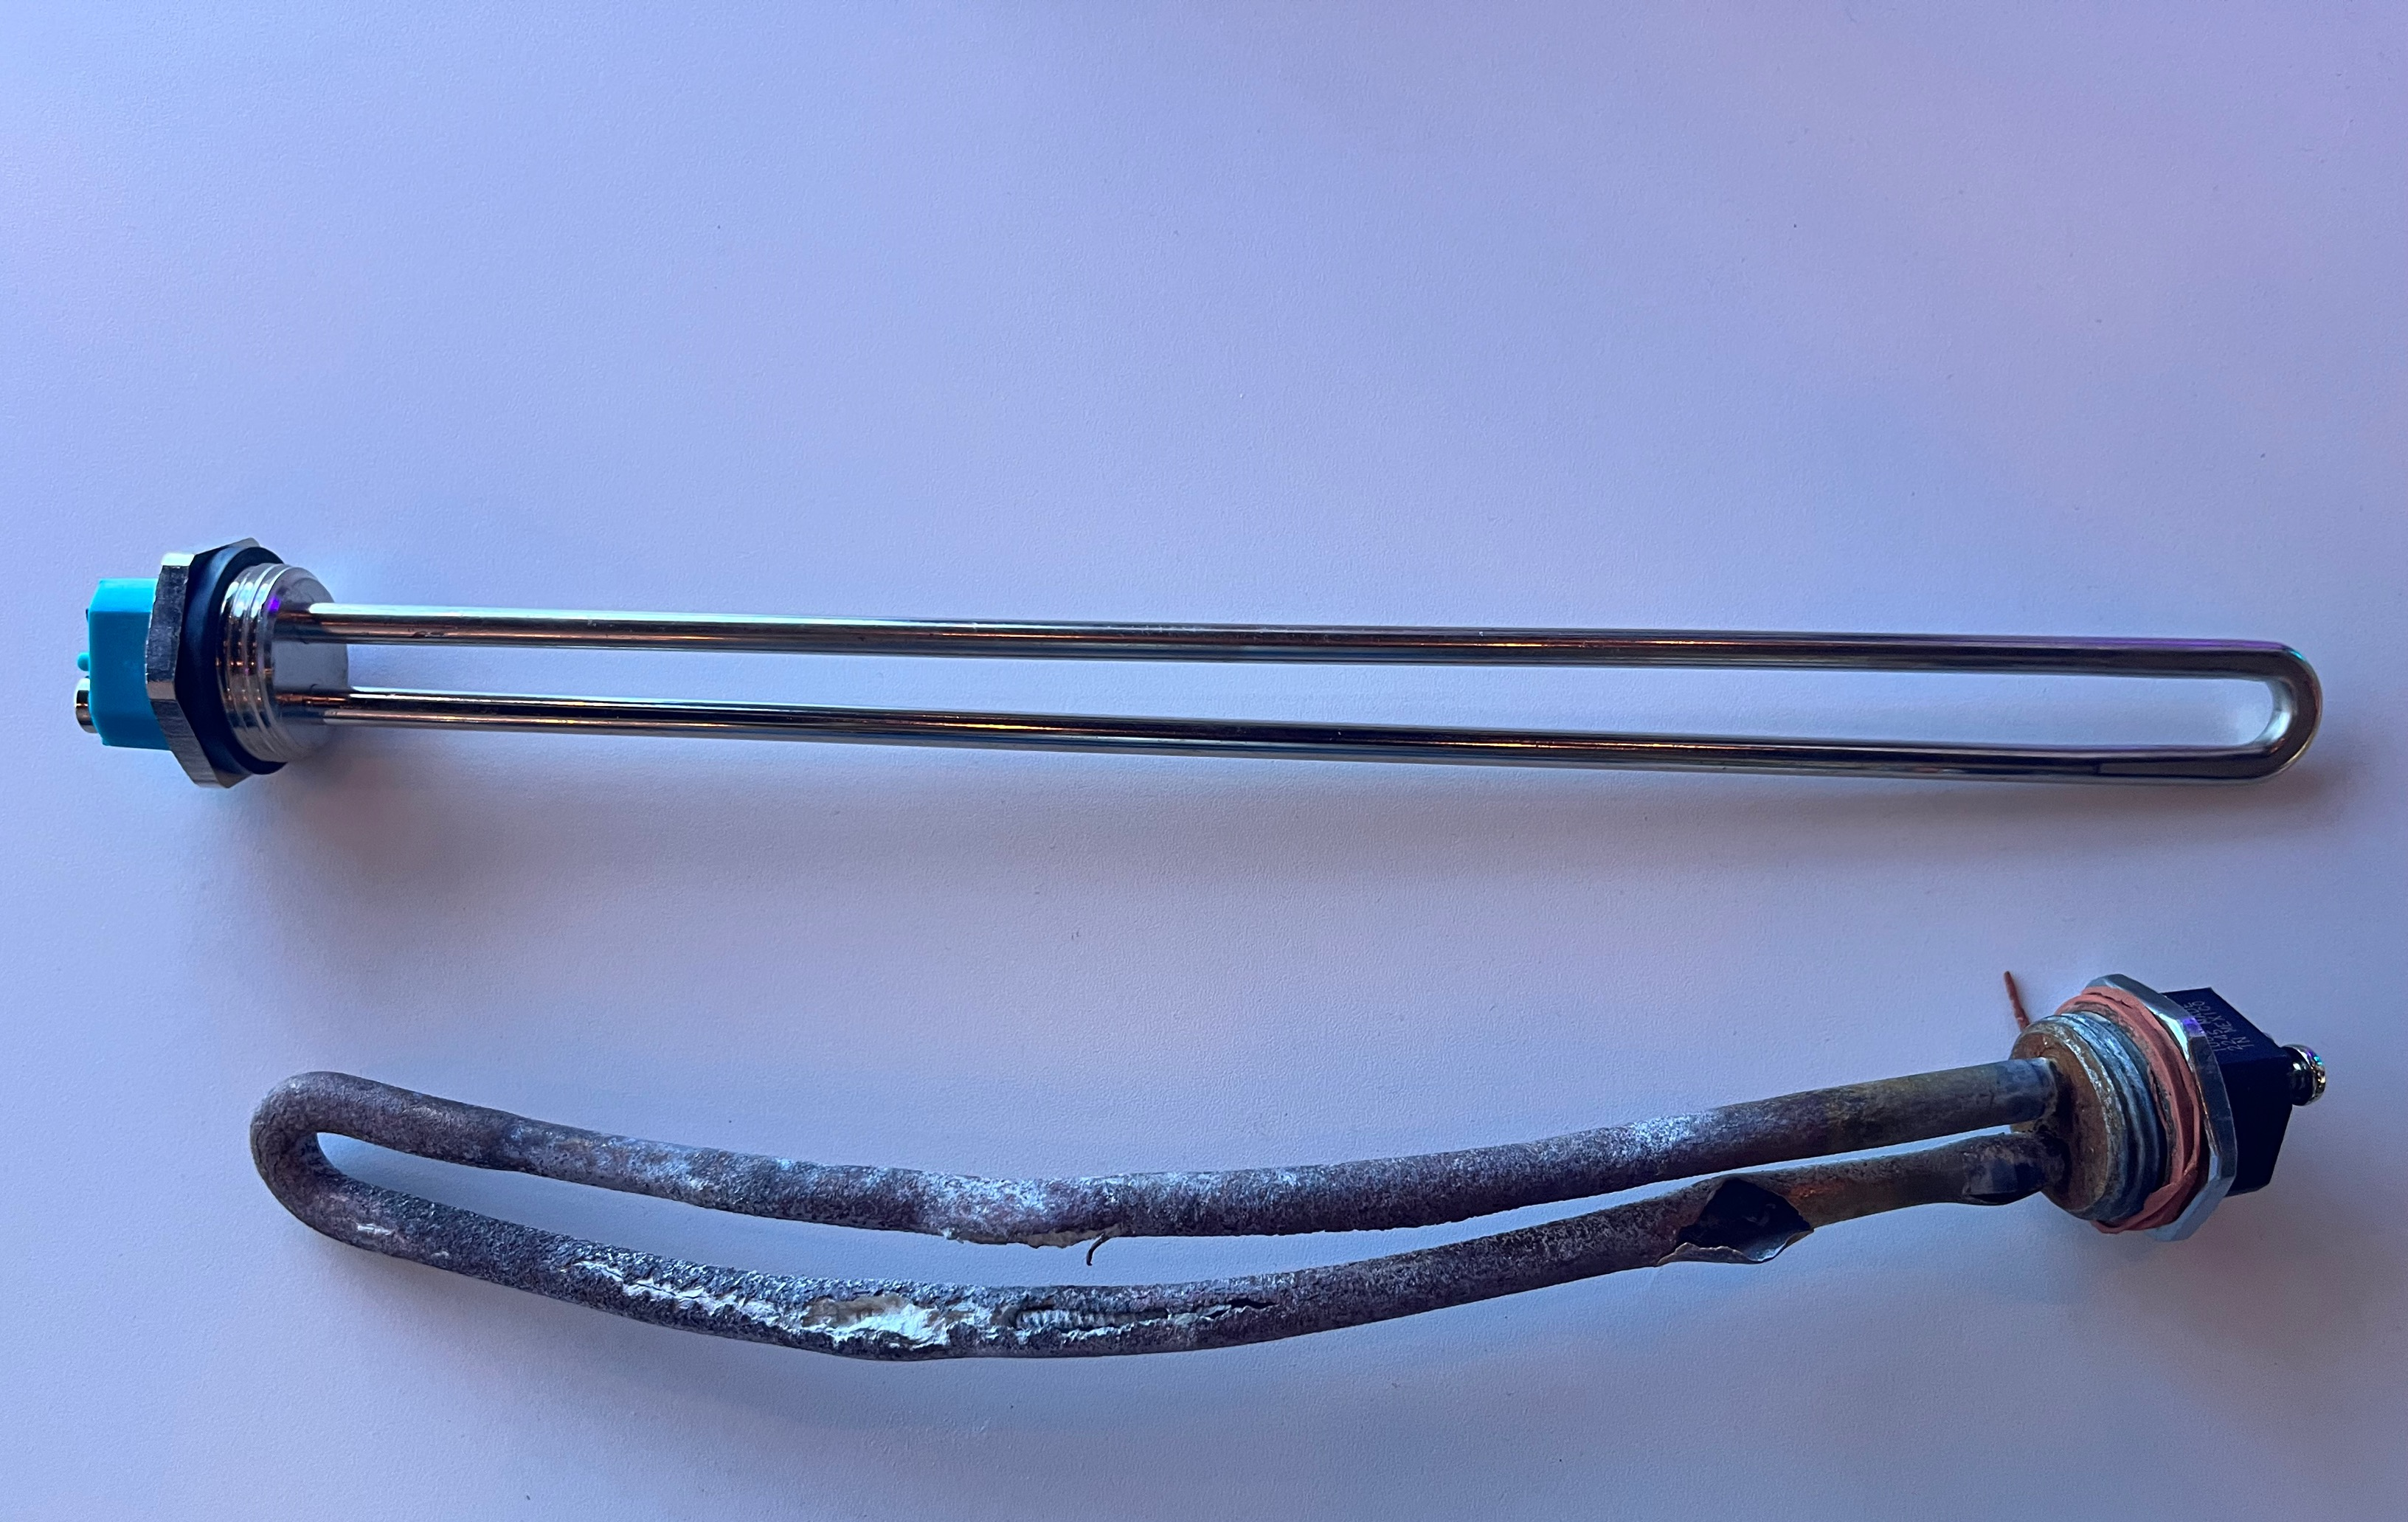
Your test results tell you exactly what to do next.
Replace if there is no continuity
If your multimeter shows OL or no reading, the heating element has failed and must be replaced. Replacement elements typically cost between $20 and $50.
Replace if the element is shorted or grounded
Test for grounding by placing one probe on a terminal and the other on the metal tank or a ground wire. If the meter beeps or shows continuity, the element is grounded and unsafe. Replace it immediately.
Consider age and sediment buildup
Elements often fail due to mineral buildup, especially in hard water areas. If your heater is over 8 to 10 years old, consider flushing the tank or replacing the entire unit.
🧼 Prevention Tip: Flush your water heater once a year to reduce sediment and extend element life.
Common Mistakes to Avoid
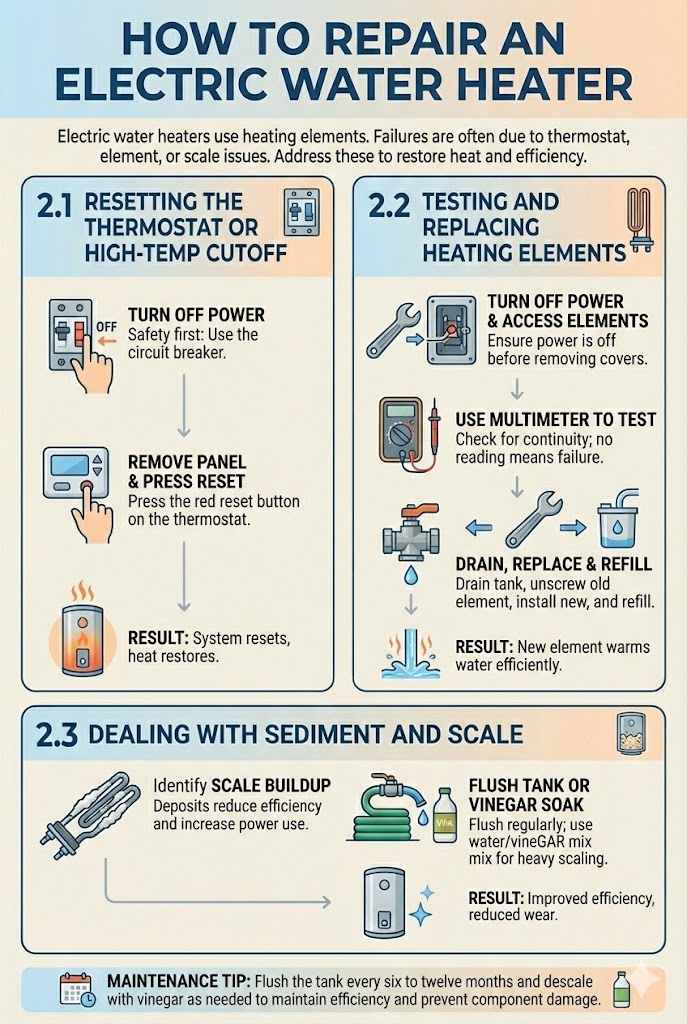
Even experienced DIYers make errors when testing heating elements.
Forgetting to turn off the power
Never skip the breaker step. 240 volts can cause serious injury or death.
Misreading the multimeter
Make sure the meter is set to Ohms, not volts or amps. Clean the element terminals before testing so the probes make proper contact.
Assuming the thermostat is the problem first
Many people replace thermostats without testing elements first, wasting time and money. Always test the element first, since it is easier to check and more commonly the culprit.
Ignoring wiring problems
Burnt wires, loose connections, or a tripped high-limit switch can mimic element failure. Inspect all components during testing.
🛑 If you are unsure at any point, consult a licensed plumber or electrician.
Frequently Asked Questions About Checking a Water Heater Element
What tools do I need to check a water heater element?
You need a screwdriver to remove the access panel, a voltage test pen to confirm the power is off, and a digital multimeter (such as a Fluke tester) to measure resistance. These three tools cover the entire testing process.
What ohm reading indicates a bad water heater element?
A reading between 10 and 16 ohms (typically around 14 Ω) indicates a functioning element. A reading of OL, infinite resistance, or zero ohms means the element has failed and needs replacement.
How do I know if my water heater element or thermostat is bad?
Test the element first using a multimeter. If the element shows proper resistance but the heater still fails, the thermostat is the more likely culprit. If the element shows OL or zero, replace the element.
Can I check a water heater element without draining the tank?
Yes. You only need to turn off the power, remove the access panel, disconnect the wires, and test the element with a multimeter. Draining the tank is not required for this test.
How long does a water heater element typically last?
Most elements last 8 to 10 years, though hard water and sediment buildup can shorten their lifespan. Annual flushing helps extend element life.
What happens if I restore power without reconnecting the wires properly?
Loose or incorrect wiring can cause arcing, overheating, or electrical shorts. Always tighten terminal screws firmly and confirm each wire is on the correct terminal before restoring power.
Key Takeaways for Checking Your Water Heater Element
Knowing how to check water heater element functionality puts you in control of one of the most common water heater repairs. The process is straightforward: turn off power, remove the access panel, disconnect the wires, test for continuity with a multimeter, and reassemble. A reading around 14 ohms means the element works, while OL or zero means it needs replacement. Always test both elements on a dual-element heater, and inspect the thermostat only after confirming the elements are functional. With basic tools and careful attention to safety, you can diagnose the issue accurately and decide whether a simple replacement will solve the problem.