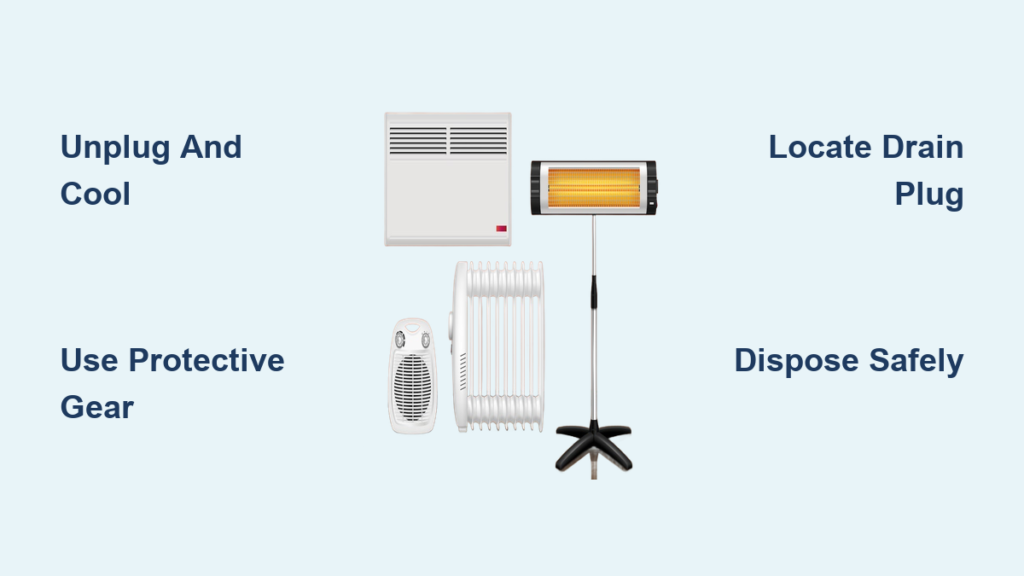
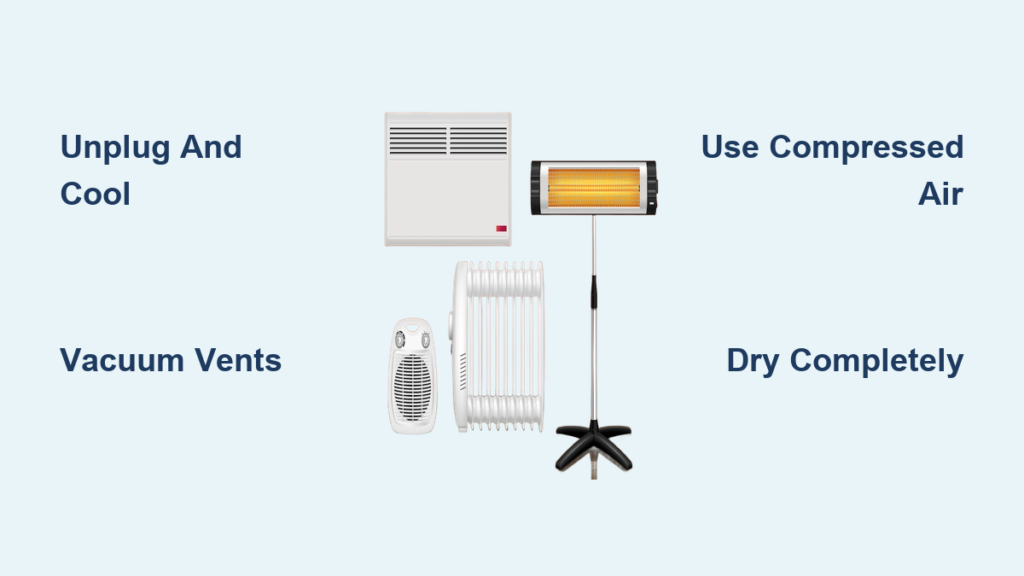
Dust, debris, and grime can silently turn your space heater into a fire hazard, reduce its heating efficiency, and circulate allergens through your home. Knowing how to clean a space heater properly isn’t just about maintenance, it is a critical safety practice that protects your home and family. This guide walks you through every step, from unplugging and cooling down to deep cleaning and reassembly, based on verified safety protocols and manufacturer guidelines.
Unplug and Cool Before Starting
Safety must always come first when cleaning any electrical appliance. Before touching your space heater, you need to take critical precautions to prevent electric shock, burns, and component damage.
Disconnect from Power Source
Always unplug the space heater before cleaning. Even low-voltage components can pose electric shock risks during internal work. Never rely on the power switch alone; physically remove the plug from the outlet to eliminate any risk of accidental activation.
Wait for Complete Cooling
If the heater was recently used, allow it to cool to room temperature before cleaning. Hot coils, casings, or fans can cause burns. Thermal stress from cleaning a warm unit may also damage internal plastics or electronics. Wait at least one to two hours after use before proceeding.
Wear a Dust Mask for Protection
When opening or vacuuming dusty units, wear a dust mask, especially if you have asthma or allergies. Dust buildup inside heaters often includes skin flakes, pet dander, and mold spores. Stirring them up without protection can trigger respiratory issues.
Clean the Exterior Safely
External cleaning applies to all models and prevents debris from entering internal components. Start with what you can see before moving to more intensive maintenance.
Vacuum Intake and Exhaust Vents
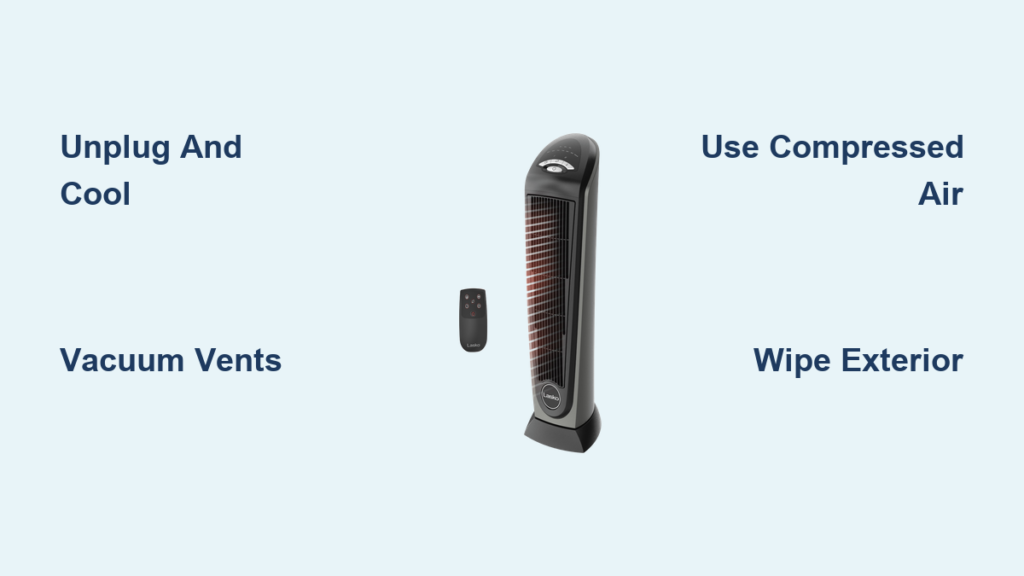
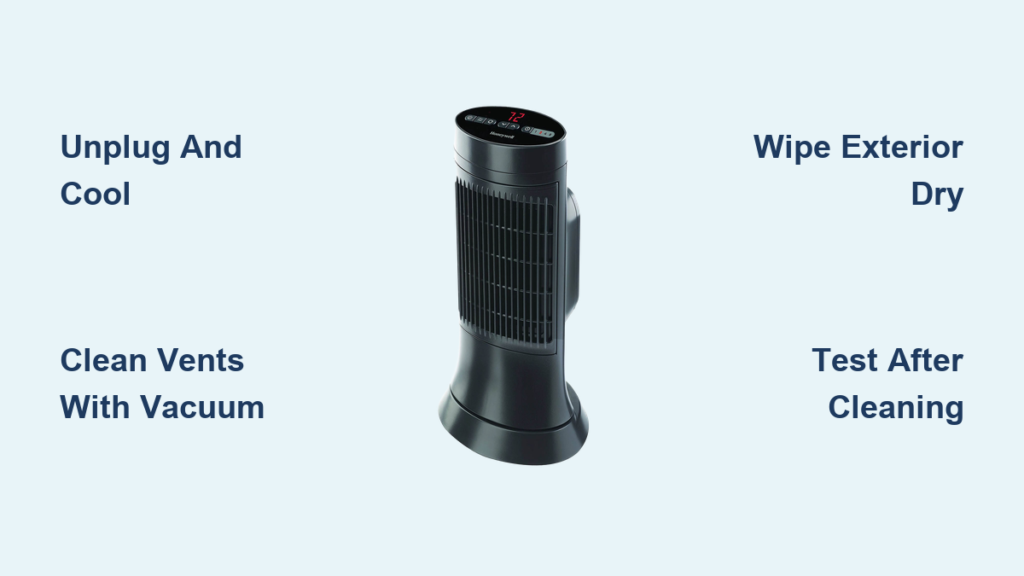
Use a vacuum with a soft brush attachment to gently remove dust from intake and exhaust grilles. Blocked vents restrict airflow, causing overheating and reduced performance. Move the nozzle slowly to avoid pushing lint deeper into the unit.
Blast Stubborn Dust with Compressed Air
For tightly packed grilles or hard-to-reach areas, use short bursts of compressed air. Aim from the exhaust side outward, then vacuum debris from the intake side. This dislodges what vacuuming alone cannot reach.
Wipe Down the Housing
Use a dry or slightly damp microfiber cloth to clean the outer shell. Never spray water or cleaner directly onto the unit, as moisture can seep inside and cause shorts. If needed, lightly dampen the cloth with water or rubbing alcohol, then wipe and dry immediately.
Avoid Harsh Cleaners
Do not use glass cleaners, bleach, or abrasive wipes. These can scratch or degrade plastic surfaces. Chemical cleaners may compromise casing integrity and void your warranty.
Check If Your Model Can Be Opened
Not all space heaters are designed for user disassembly. Opening the wrong model can void the warranty and create safety hazards.
Consult the User Manual First
Always check your model’s manual before attempting internal cleaning. Designs vary widely between ceramic, fan-forced, infrared, and oil-filled units. Some brands, like Lasko, are sealed and meant to be cleaned externally only.
Know Your Model Type
Refer to this quick guide before proceeding:
| Brand/Model | Can Be Opened? | Warranty Risk |
|---|---|---|
| Lasko | No | Yes, voids warranty |
| Mainstays | Yes | Unspecified |
| Sunbeam | Yes (some models) | Varies |
If your model is not listed or the manual prohibits opening, do not proceed. Use external methods only.
Disassemble Openable Models Carefully
Only attempt disassembly on models designed for access, like Mainstays or certain Sunbeam units.
Gather Required Tools
You will need a Phillips screwdriver, flat-head screwdriver or prying tool, microfiber cloth, compressed air, rubbing alcohol at 70% or higher, cotton swabs used sparingly, and a smartphone to photograph each step.
Remove Rear Screws
For Mainstays models, locate the single Phillips screw on the upper rear and remove it completely. Some Sunbeam models require up to ten screws, six for the housing and four for the motor.
Pry Casing Apart Gently
Insert a flat-head tool into the top and bottom seams. Apply even pressure to avoid cracking plastic. Work around the perimeter until the shell releases. Do not force it; if it resists, check for hidden screws.
Detach Front or Bottom Panel
On Mainstays units, two front clips hold the base. Carefully pry upward beside each clip to release the front face. Set parts aside in order to make reassembly easier.
Clean Internal Components Thoroughly

With the unit open, focus on high-impact areas: the fan, motor, heating elements, and filters.
Vacuum Dust Near Motor and Fan
Use a vacuum with brush attachment while gently brushing debris loose with a soft paintbrush or toothbrush. This dual approach prevents dust from being pushed deeper into sensitive components.
Use Compressed Air on Heating Fins
Direct short bursts of compressed air across heating coils and fins. Angle the nozzle to blow dust toward the intake side, where a vacuum can catch it. Never use high-pressure air that could bend delicate fins.
Wipe Fan Blades with Alcohol
Dust and oily residue on blades cause imbalance and noise. Dampen a microfiber cloth or cotton swab with rubbing alcohol and wipe each blade individually. Let them dry before reassembly.
Clean or Replace the Filter
Some models have washable filters. Remove and vacuum gently, then rinse under lukewarm water if allowed. Air dry completely, overnight is best. Never reinstall a damp filter, as it restricts airflow and promotes mold.
Clean Heating Coils Safely
If coils are accessible, remove by unscrewing top and bottom fasteners. Wipe with an alcohol-dampened cloth or swab. Never use water or household cleaners. Avoid bending or touching coils directly, and do not saturate them with excess moisture.
Ensure Full Drying Before Reassembly
Moisture is a silent killer in electrical appliances. Always dry every part completely before putting the unit back together.
Let Parts Air Dry
After using alcohol or water, lay components on a clean towel in a dry, well-ventilated area. Wait at least two to four hours. Trapped moisture can cause short circuits or mold growth.
Check for Hidden Damp Spots
Inspect crevices around the motor housing and coil mounts. Even a small drop can cause problems when the heater is powered.
Reassemble Correctly and Securely
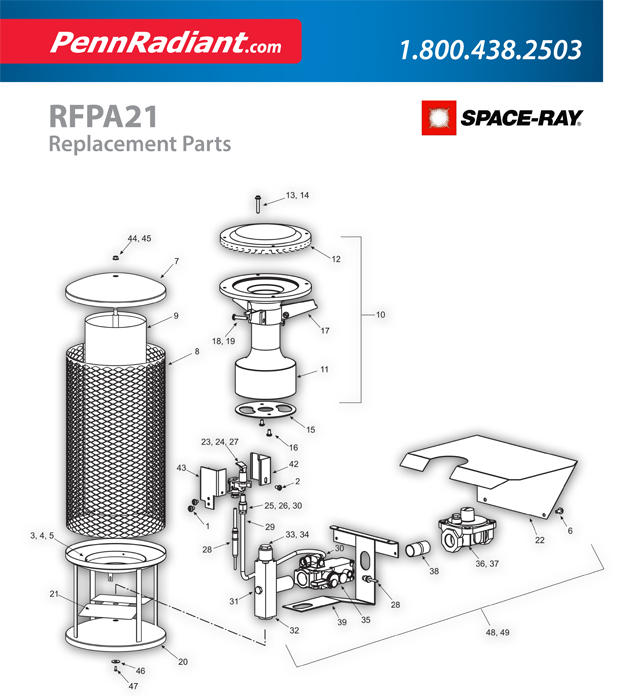
Rebuilding the heater is just as important as cleaning it. Proper reassembly ensures safe and efficient operation.
Reinstall the Heating Coil
If removed, align the coil properly and secure with top and bottom screws. Do not over-tighten, as this can crack plastic mounts.
Reattach the Front Panel
Align the front face and press firmly until the bottom clips click into place. This audible feedback confirms a secure fit.
Replace All Screws
Reinsert every screw you removed. Missing even one can leave the casing loose, exposing hot components or allowing dust to enter faster.
Reconnect Wiring Tie Straps
These small plastic clips keep wires away from the fan and heating elements. Omitting them increases fire risk significantly. Reattach them exactly as they were.
Final Exterior Wipe
Once assembled, wipe the entire unit with a dry cloth to remove fingerprints or residual dust.
Test the Heater After Cleaning
Never assume the unit is ready for use without verification. Always perform a live test before returning the heater to regular service.
Run a Five to Ten Minute Function Check
Plug in the heater and operate it in a clear, open area. Monitor for unusual noises like grinding or rattling, which indicate misalignment. Watch for vibration suggesting unbalanced fan blades, and note any uneven heating or delayed output.
Evaluate Heat Output and Noise
A clean heater should run quietly and produce consistent warmth. Smooth operation signals successful cleaning.
Handle Initial Burning Smell
A faint burning odor for the first few minutes is normal, as residual dust burns off heating elements. However, if the smell is strong or persists beyond ten minutes, unplug immediately, recheck for moisture or leftover debris, and allow additional drying time.
Follow a Cleaning Schedule
Frequency matters. Cleaning only once a year is not enough to maintain safe and efficient operation.
Clean Every One to Two Weeks During Use
Cleaning every two weeks during active use, especially in homes with pets or high dust levels, prevents major buildup. Frequent vacuuming of vents takes less than five minutes but makes a significant difference.
Perform Seasonal Deep Cleaning
Before winter, clean thoroughly, inspect for damage, and test operation. After winter, clean again before storage and store in a dry, dust-free location. This extends lifespan and ensures safe startup next season.
Know When to Avoid Disassembly
Some heaters should never be opened. Know the limits of your specific model.
Sealed Units: Stick to External Cleaning
Lasko and similar brands use sealed designs. Opening them voids the warranty and risks damage. Stick to vacuuming vents, using compressed air, and wiping the exterior only.
Oil-Filled and Infrared Heaters
These often lack user-serviceable internals. Do not attempt disassembly. Clean only the exterior and base with a damp cloth.
Seek Professional Help If Needed
If you are unsure about reassembly, the heater shows signs of damage like melted plastic or frayed wires, or it is a complex or high-wattage model, consult a qualified technician.
Maximize Safety and Efficiency
A clean heater is not just safer, it performs better and lasts longer.
Prevent Fire Hazards
Dust near heating elements is combustible. Regular cleaning removes this risk. Always reattach wiring ties, remove all lint and fibers, and ensure vents are unobstructed.
Improve Air Quality
A dirty heater circulates dust, mold, and allergens. Cleaning reduces airborne irritants, especially helpful for those with asthma or allergies.
Boost Energy Efficiency
Clean coils and unblocked airflow mean faster heating and less power use. You will feel the warmth quicker and save on electricity.
Extend Heater Lifespan
Reduced strain on the motor and fan means fewer breakdowns. A well-maintained heater can last five to ten years or more.
Essential Tools and Materials
Use the right supplies for safe, effective cleaning.
| Tool/Material | Purpose |
|---|---|
| Vacuum with brush | Remove surface dust from vents |
| Compressed air | Dislodge internal debris without opening |
| Phillips screwdriver | Remove screws on openable models |
| Flat-head screwdriver | Pry apart plastic casing safely |
| Rubbing alcohol | Clean coils and fan blades |
| Microfiber cloth | Wipe without leaving lint |
| Cotton swabs | Reach tight spots, use sparingly |
| Smartphone | Document disassembly steps |
Frequently Asked Questions About Cleaning Space Heaters
How often should I clean my space heater?
Clean your space heater every one to two weeks during active use. Perform a thorough deep cleaning before winter and again before storing it for the off-season. Homes with pets or high dust levels may need more frequent cleaning.
Can I use water to clean the inside of my space heater?
Never use water or steam on internal parts. Even small amounts of liquid can cause short circuits or corrosion. Use rubbing alcohol on a microfiber cloth instead, and ensure all parts are completely dry before reassembly.
Why does my space heater smell like burning dust after cleaning?
A faint burning smell during the first few minutes of operation is normal. Residual dust on heating elements burns off as the unit warms up. If the smell is strong or persists beyond ten minutes, unplug the heater and check for moisture or leftover debris.
What should I do if my space heater won’t turn on after cleaning?
First, ensure the plug is securely connected to the outlet. Check that all screws and components were properly reassembled. Look for any wires that may have become disconnected during the process. If the heater still does not work, consult a professional technician.
Is it safe to disassemble my space heater?
Only disassemble models explicitly designed for user access. Brands like Lasko use sealed designs, and opening them voids the warranty and may cause damage. Always consult your user manual before attempting internal cleaning.
Can a dirty space heater cause a fire?
Yes, dust buildup near heating elements poses a significant fire risk, especially during initial use after storage. Restricted airflow from clogged vents can also cause overheating. Regular cleaning eliminates these hazards and ensures safe operation.
Key Takeaways for Cleaning Your Space Heater
Regular cleaning of your space heater is essential for safety, efficiency, and longevity. Always unplug the unit and allow it to cool completely before any cleaning. For sealed models like Lasko, stick to external cleaning with a vacuum and compressed air. For openable models, document each disassembly step with photos, use rubbing alcohol for internal components, and ensure everything is completely dry before reassembly. Clean vents every two weeks during heavy use and perform thorough seasonal maintenance before and after winter. By following these practices, you will enjoy safer, more efficient heating while extending the life of your appliance.