Draining oil from an oil-filled space heater is not a typical maintenance task. These sealed units are designed to operate for their entire lifespan without any oil changes. However, when your heater reaches end-of-life, suffers damage, or needs recycling, safely removing the oil becomes essential for proper disposal and environmental safety. This guide walks you through every step of the process, from preparation to final recycling.
This article covers everything you need to know about safely extracting oil from your space heater, including the tools required, a complete step-by-step procedure, component recovery options, and responsible disposal methods.
Prepare the Heater for Disassembly
Before you begin the oil drainage process, proper preparation prevents burns, electrical shocks, and messy spills. Taking these initial steps seriously ensures a safer working environment.
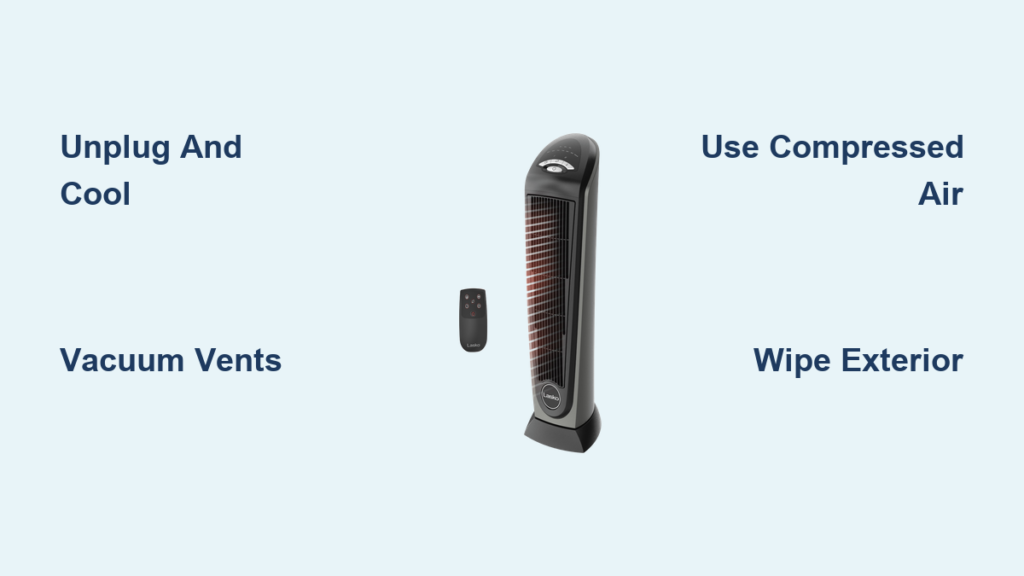
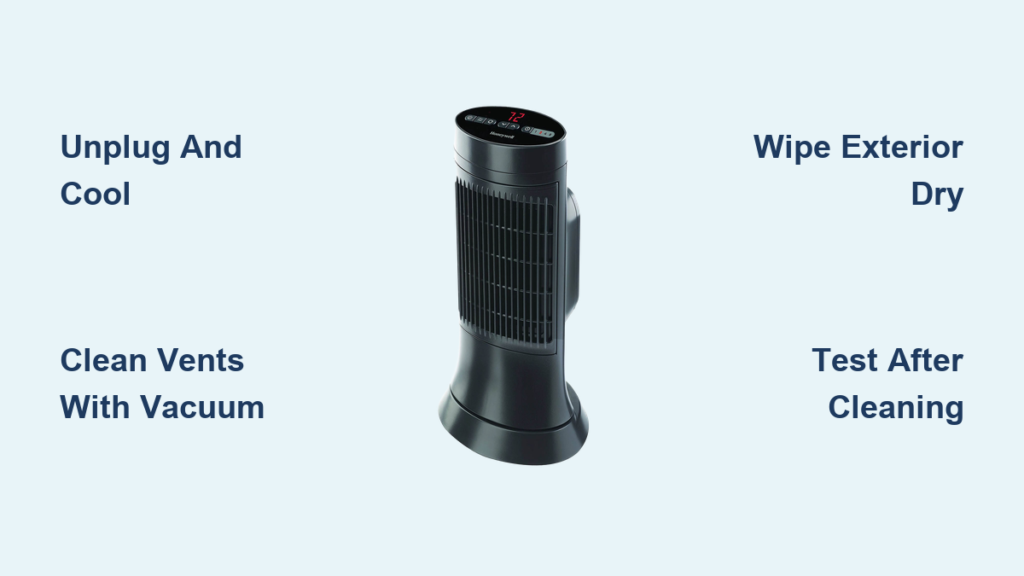
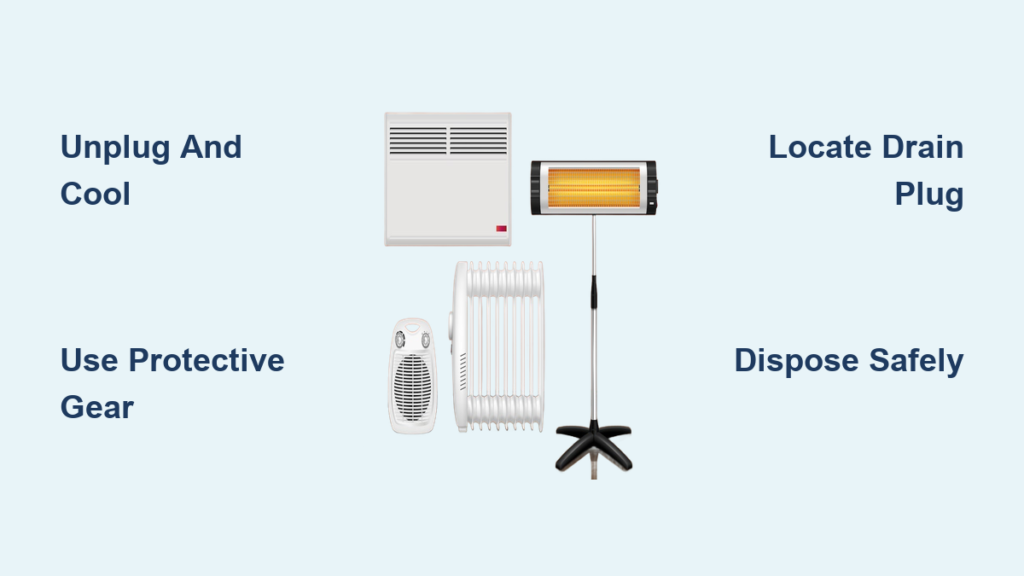
Unplug and Cool Completely
Always disconnect the heater from any power source before beginning work. Never attempt to drain oil from a plugged-in or recently operated unit. Allow the heater to cool for at least 2 to 4 hours after its last use. Hot oil causes severe burns and can release harmful vapors when disturbed during handling.
Set Up a Safe Work Area
Choose a well-ventilated location, preferably outdoors or in a garage. Lay down absorbent pads, rags, or a drip tray beneath the workspace to catch any accidental oil leaks. Keep children and pets away from the area throughout the entire process.
Assess for Existing Damage
If your heater is already leaking oil, place absorbent material underneath immediately. Use a syringe or turkey baster to extract visible oil without puncturing the tank further. Avoid applying pressure, drilling, or crushing the reservoir, as even small punctures can release large amounts of oil.
Gather Required Tools and Safety Gear
Using the right tools and protective equipment makes the job safer and more efficient. Having everything ready before starting prevents interruptions.
Essential Tools
You will need several key items to complete this task effectively. A Phillips #2 screwdriver removes the casing and internal screws. Wire cutters safely disconnect the power cord. A clean, sealable container with 2 to 5 liter capacity collects the drained oil. A rubber seal or gasket minimizes spills during drainage. A wrench or pliers loosens the drain plug if applicable.
Safety Equipment
Protective gloves shield your skin from oil and sharp metal edges. Safety goggles prevent oil splashes or debris from entering your eyes. Never skip this protective gear, as dielectric oil irritates skin and stains clothing permanently.
Remove Wheels and Outer Casing
Accessing the internal oil reservoir requires removing the base components and outer shell. This step reveals the internal workings and gets you closer to the oil tank.
Take Off Wheels and Brackets
Locate the wing nuts or thumb screws on each side of the base. Unscrew and remove the wheels and mounting brackets carefully. Set aside all hardware for potential reuse or recycling.
Open the Outer Shell
Most oil-filled heater models have 1 to 2 screws securing the outer steel casing. Use your Phillips screwdriver to remove these fasteners. On compact models, you may find one central screw. On larger units, look for two screws near the wheel mounts. Gently slide or lift the cover off to expose the internal wiring and components.
Disconnect Electrical Components

With the casing removed, you can now access the electrical system. Properly disconnecting the power prevents accidental energizing during the remaining steps.
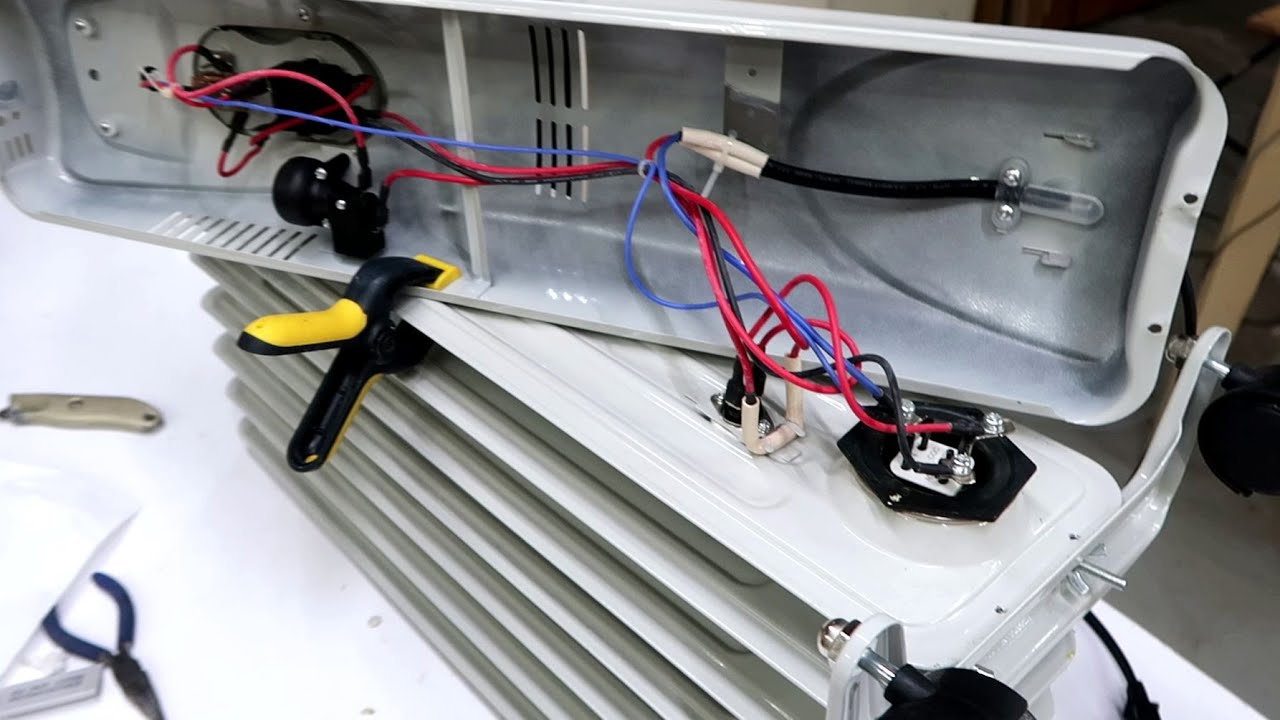
Expose Wiring and Switches
Remove the screws at the back and opposite end to lift the internal cover. You will find several key components including the main on/off switch, thermostat with click-type control, tip-over switch, thermal cutoff, wiring harness, and the soldered mains plug.
Cut or Disconnect the Power Cord
If you are not salvaging parts, use wire cutters to cut the cord close to the plug. This eliminates any risk of accidental reconnection. If you plan to reuse switches or wiring, carefully desolder connections or disconnect at the terminal block. Label all wires for future reference and store components in labeled jars.
Locate and Open the Drain Plug
Now you reach the core step of extracting the oil. Positioning your collection container correctly prevents spills and maximizes recovery.
Position Oil Collection Container
Place a clean, leak-proof container directly under the reservoir base. Use a rubber gasket around the drain point to reduce spills significantly. Ensure your container can hold 2 to 5 liters, as oil volume often exceeds initial expectations.
Find the Drain Plug
The drain plug is usually located at the bottom or rear of the oil tank. It may appear as a screw-type cap or a sealed bung. Use a screwdriver or wrench to unscrew it slowly. Oil begins flowing immediately, so ensure your container is properly positioned before proceeding.
Drain Oil Completely
Controlled drainage ensures you recover as much oil as possible while avoiding mess. Patience during this step pays off.
Allow Full Drainage
Let the oil flow naturally, which typically takes several minutes. Drained oil appears amber-colored and viscous, resembling used motor oil. Do not shake or tilt aggressively, as this stirs sediment and makes the oil harder to handle.
Encourage Final Drain
Once the flow stops, tilt the unit slightly to evacuate any residual oil. Avoid excessive force to prevent internal debris from escaping into your collection container.
Re-Seal the Tank
After draining, tighten the drain plug back into place. This prevents leaks during transport or storage and makes recycling or scrap handling much safer.
Recover Valuable Components

With the oil removed, the unit becomes significantly lighter and easier to process. This stage focuses on recovering valuable materials for recycling or reuse.
Salvage Metal Parts
The steel body and fins offer high scrap value when recycled as ferrous metal. Copper wiring, approximately 200 grams average, retains worth around 50 cents or more depending on market rates. Brass terminals provide small but collectible value. Silver contacts in the thermostat contain trace amounts with potential for future recovery.
Reuse Functional Hardware
Wheels and brackets work excellently for DIY projects. Functional tip-over switches, thermostats, and on/off switches can be resold, with working tip-over switches selling for 5 dollars or more. Store screws, nuts, and plastic spacers in labeled containers for future repairs.
Upcycle Heater Parts Creatively
Old heater components transform into useful household items. This creative approach maximizes the value extracted from your decommissioned unit.
Build a Pot Plant Trolley
Gather two salvaged wheels and a scrap timber piece, ideally pine or hardwood around 40 to 60 centimeters long. Cut the wood to your desired size and sand all edges smooth. Drill mounting holes evenly spaced for the wheels. Attach wheels securely with screws. Apply weatherproof sealant or paint for outdoor durability. This mobile plant stand can sell for 5 dollars or more at markets or online.
Dispose of Oil and Waste Responsibly
Improper disposal harms the environment and may violate local regulations. Taking the extra steps to dispose correctly protects both nature and your legal standing.
Store Oil Safely
Place drained oil in a clear, sealed container. Label it clearly with “Used Dielectric Oil – Hazardous Waste.” Store the container away from heat, flames, and direct sunlight until you can transport it to a disposal facility.
Drop Off at Approved Facilities
Never pour oil down drains, onto soil, or in regular trash bins. Take the oil and empty heater to a hazardous waste facility, an e-waste recycling center, or a scrap metal yard that accepts oil-filled appliances. Check your local regulations, as many areas classify dielectric oil as hazardous material requiring special handling.
Avoid Dangerous Mistakes
Certain actions pose serious risks to your safety and the environment. Understanding what not to do protects you from injury and legal problems.
Never Do These
Never puncture, crush, or burn the oil tank, as this risks fire and toxic fumes. Never attempt to refill the heater with oil, as the system is factory-sealed and refilling is unsafe and impractical. Never operate the heater without oil, as this destroys the heating element and creates serious fire hazards.
Always Wear Protection
Wear gloves and goggles throughout the entire process. Wash skin immediately with soap and water if exposed to oil. These simple precautions prevent irritation and long-term skin issues.
Maximize Recycling Benefits
Draining oil opens opportunities for recovering significant value from otherwise discarded appliances. Understanding these benefits makes the effort economically worthwhile.
Environmental and Economic Gains
Steel, copper, and brass from the heater generate cash when sold to scrap recyclers. Functional switches resell for 5 dollars or more each. Upcycling projects like plant trolleys create saleable products. Over 95 percent of the unit is recyclable, with only minor plastic and rubber parts heading to landfills. These combined values often offset any disposal costs, making responsible recycling economically smart.
Frequently Asked Questions About Draining Oil from a Space Heater
Can I drain oil from my space heater to perform maintenance?
No, draining oil is not a maintenance procedure. Oil-filled space heaters are sealed systems designed to operate for their entire lifespan without oil changes. Only drain oil when decommissioning, recycling, or dealing with a damaged leaking unit.
What type of oil is inside an oil-filled space heater?
These heaters use dielectric oil, which is non-conductive and thermally stable. The oil appears amber-colored and viscous, similar to used motor oil. Some models may use oil resembling vegetable oil in consistency.
How long does it take for the oil to drain completely?
Natural drainage typically takes several minutes, depending on oil viscosity and temperature. Tilt the unit slightly after flow stops to encourage remaining oil to exit. Total time ranges from 5 to 15 minutes for most models.
Is the oil dangerous to handle?
Dielectric oil is non-toxic but can irritate skin and stain clothing. Always wear gloves and eye protection. Wash skin immediately if contact occurs. The oil becomes hazardous only when improperly disposed of.
Can I recycle the drained oil?
Yes, take used dielectric oil to a hazardous waste facility or e-waste recycling center. Many scrap metal yards also accept oil-filled appliances. Never pour oil down drains or in regular trash.
Key Takeaways for Draining Oil from Your Space Heater
Draining oil from a space heater is exclusively for end-of-life units being decommissioned, recycled, or scrapped. These sealed systems never require oil changes during normal operation. Always unplug the heater and allow 2 to 4 hours of cooling time before starting, as hot oil causes severe burns and releases harmful vapors.
Gather proper tools including a Phillips screwdriver, wire cutters, sealable container, and protective gloves before beginning. The drainage process involves removing wheels and casing, disconnecting electrical components, locating the drain plug, and allowing natural oil flow into a collection container. Recover valuable materials like steel, copper wiring, brass terminals, and functional switches before disposing of the oil responsibly at approved hazardous waste facilities.
Following this guide ensures safe handling, maximizes recycling value, and protects the environment from improper waste disposal.