Is your space heater running less efficiently, shutting off unexpectedly, or emitting a musty odor when turned on? Before assuming it is broken, check the filter. A clogged space heater filter is one of the most common causes of poor performance, and often the easiest to fix. Dust, lint, and debris build up over time, restricting airflow and forcing the unit to work harder, which can trigger safety shutoffs, reduce heating power, and even pose a fire hazard. In this guide, you will learn exactly how to clean a space heater filter safely and effectively, identify whether your model has a washable or disposable filter, and discover how regular maintenance boosts efficiency, safety, and lifespan.
Locate the Air Filter on Your Space Heater
Most space heaters draw air through intake grilles located on the back, sides, or front bottom of the unit. The filter, when present, is typically just behind these vents. Look for removable panels, latches, or access points where dust might accumulate. If your heater has visible screws or tabs, it may require partial disassembly to reach the filter.
Check Common Filter Locations
The air filter in most portable space heaters is located on the rear panel, side intake grilles, or front lower intake. It is typically designed for easy access to support routine maintenance. Some models feature quick-release tabs, while others require basic tools for access.
Identify Your Model Type
Not all heaters have accessible filters. The Eden Pure Generation 3 features a rear-mounted filter with quick-release tabs that pops out without tools. The Sunbeam One Touch requires removing ten screws to access internal components. Many Lasko models are sealed units with no user-replaceable filter, meaning cleaning must be done externally only.
Pro Tip: Always consult your user manual before attempting to access any internal components. It confirms whether your unit has a cleanable filter and how to access it safely without voiding the warranty.
Power Down and Prepare for Cleaning
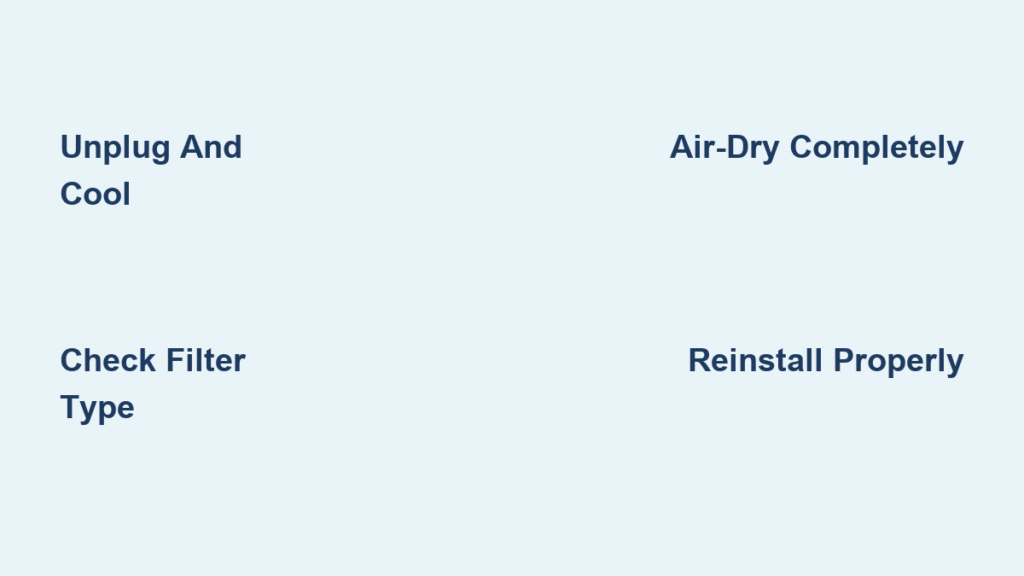
Safety comes first when maintaining any electrical appliance. Unplug the heater from the wall outlet and let it sit for at least 30 minutes to cool completely. Never attempt cleaning while the unit is hot or plugged in, as this prevents burns, electrical shock, and damage to sensitive components.
Gather Essential Tools
You will need a vacuum with brush attachment for removing loose dust, a soft-bristle brush for dislodging stubborn debris, microfiber cloths for wiping surfaces, and a screwdriver if disassembly is required. Keep water and cleaning sprays away from electrical parts. Having everything ready before you start makes the process smoother and faster.
Create a Safe Workspace
Choose a well-ventilated area with good lighting for cleaning. Place old towels or newspapers beneath the heater to catch falling dust. Ensure the workspace is dry and free from flammable materials. This setup makes cleanup easier and reduces the risk of accidents.
Remove and Inspect the Filter
For models with removable filters, release latches or unscrew the back or side panel. Gently pull out the filter without forcing it. Some models, like Lasko heaters, are sealed and should never be opened, as doing so may void the warranty and create safety hazards.
Determine Filter Type
Check the filter material to identify the correct cleaning method. Foam or mesh filters are usually washable and reusable. Pleated paper or fiber filters are disposable and should be replaced every 1 to 3 months. Electrostatic filters are often washable, but check the manual to confirm.
Inspect for Damage
Look for heavy dust clogging, mold or mildew, and physical damage such as tears, warping, or brittleness. If the filter shows mold or physical damage, replace it immediately rather than risking contaminated air circulation. A damaged filter cannot effectively trap particles and may allow debris to enter the motor.
Clean the Filter Properly
Dry Cleaning for Routine Maintenance
For light dust buildup, use the vacuum brush attachment on low suction. Gently brush and vacuum both sides of the filter to dislodge trapped particles. This method works well for weekly upkeep and for filters that are not washable. Tap the filter lightly after vacuuming to release any remaining dust.
Wet Cleaning for Washable Filters Only
Only clean with water if the filter is explicitly labeled as washable in your manual. Rinse under lukewarm running water and gently scrub with a soft-bristle brush to remove compacted grime. Do not use soap, detergent, or bleach, as these can degrade the material or leave harmful residues that affect air quality. Rinse thoroughly until water runs clear.
Warning: Never twist, squeeze, or wring foam filters, as this damages their structure and reduces effectiveness. Paper and pleated filters degrade when wet and must be replaced instead.
Dry the Filter Completely
Air-Dry in a Well-Ventilated Area
Place the filter on a clean paper towel or drying rack in a dry, room-temperature space. Allow 4 to 24 hours to dry fully, depending on thickness and humidity levels. Patience is essential here, as a partially dry filter can cause serious problems.
Avoid Heat Sources
Do not speed up drying with hairdryers, radiators, ovens, or direct sunlight. Excessive heat can warp or melt filter material, rendering it ineffective. The air-drying process may seem slow, but it protects the filter integrity and ensures safe operation.
Critical: Never reinstall a damp filter. Moisture can cause electrical shorts, corrosion, or mold growth inside the heater, creating serious safety hazards.
Clean Internal Components If Your Model Allows

For models that allow disassembly, use the vacuum brush attachment on low suction to clean fan blades, heating coils, and internal vents. Wipe fan blades with a dry microfiber cloth and ensure wires are clear of moving parts. Reattach any tie straps that secure wires to prevent overheating or interference.
Use Compressed Air Carefully
Hold canned air upright and use short bursts to blow dust from hard-to-reach areas. Direct airflow from the exhaust vent outward to push dust toward intake areas where it can be vacuumed. Never use high pressure, as it can force dust deeper into sensitive electronics.
Sealed Units Require External-Only Cleaning
For Lasko and similar sealed models, unplug and cool the heater first. Spray compressed air into the exhaust vent, then immediately vacuum the intake vents to capture freed dust. Wipe the exterior with a damp microfiber cloth. Never open the case on sealed units.
Reinstall and Test the Heater
Reinsert the Filter Correctly
Once fully dry, slide the filter back into place and secure all latches, tabs, or screws. For disassembled models, ensure the casing is tightly reattached and all screws are properly tightened. A loose filter can vibrate and create noise during operation.
Power On and Monitor Performance
Plug in the heater and turn it on. Watch for the fan starting immediately, even heat distribution, no strange noises, and no persistent burning smell. A faint odor for 15 to 30 minutes is normal due to residual dust burning off. If the smell persists longer, turn off the unit and inspect for remaining debris.
Troubleshoot Common Issues
If the heater will not turn on, check that the filter is properly seated and the power plug is connected. If the fan runs but produces no heat, the thermostat may be set too low. A rattling noise indicates a loose screw or displaced wire that needs securing. Overheating quickly usually means the filter is still damp or vents are blocked.
Follow a Smart Maintenance Schedule
Cleaning Frequency Based on Usage
For occasional seasonal use, clean the filter at least once per heating season before first use. For regular daily use, clean every 2 to 4 weeks, including vacuuming filter and vents. For heavy use in dusty environments or homes with pets, inspect weekly and clean every 1 to 2 weeks. After long-term storage, always deep clean before first use to prevent odors and ensure safe operation.
Pro Tip: Households with pets, smokers, or allergy sufferers should clean more frequently. A musty smell at startup means cleaning is overdue.
Maximize Safety and Efficiency
Prevent Fire Hazards
Dust buildup near heating elements is highly flammable. Regular filter cleaning removes this risk and aligns with U.S. CPSC fire safety guidelines. Keep 3 feet of clearance around the heater at all times to ensure proper airflow and reduce fire risk.
Improve Indoor Air Quality
A dirty filter recirculates allergens, mold spores, and volatile organic compounds. Cleaning it reduces respiratory irritation and eliminates musty or smoky odors that develop when dust burns on hot elements. This is especially important for households with allergy sufferers or asthma.
Save Energy and Money
Clean filters maintain optimal airflow, so the heater does not overwork to achieve desired temperatures. This cuts energy use and lowers electricity bills, often by 10 to 15 percent in frequent-use scenarios. A well-maintained heater also lasts longer, avoiding premature replacement costs.
Avoid Common Mistakes
Never Use Water on Non-Washable Filters
Paper or pleated filters degrade when wet and cannot be effectively cleaned. Replace them instead when they become clogged or dirty. Using water on these filters permanently damages them and reduces their ability to trap particles.
Do Not Skip the Drying Step
A damp filter risks short-circuiting internal components and promotes mold growth inside the heater. Always allow 4 to 24 hours for complete air drying before reinstalling. This step is non-negotiable for safety.
Never Operate Without a Filter
Unless the manual explicitly allows it, running the heater without a filter lets dust invade the motor and heating elements. This accelerates wear, increases fire risk, and can void your warranty. Always keep the filter in place during operation.
Avoid Harsh Cleaners
Soap, chemicals, or abrasive brushes can damage filter media and leave toxic residues that affect air quality. Use only water for washable filters, and avoid any cleaning products unless specifically recommended by the manufacturer.
Frequently Asked Questions About Cleaning Space Heater Filters
How often should I clean my space heater filter?
For regular daily use, clean the filter every 2 to 4 weeks. For occasional seasonal use, clean at least once before each heating season. Homes with pets, smokers, or dusty environments may need weekly cleaning to maintain optimal performance.
Can I vacuum my space heater filter instead of washing it?
Yes, dry cleaning with a vacuum brush attachment works well for routine maintenance and for filters that are not washable. This method removes light dust buildup effectively without risking damage from water exposure.
What happens if I do not clean my space heater filter?
A dirty filter restricts airflow, causing the heater to overwork, overheat, and trigger safety shutoffs. It reduces heating performance, increases energy consumption, and poses a fire hazard from accumulated dust near heating elements. Indoor air quality also suffers as allergens and dust circulate.
Can I use soap to clean a washable filter?
No, never use soap, detergent, or bleach when cleaning washable filters. These chemicals can degrade the filter material or leave residues that affect air quality and cause odors. Use only lukewarm water and a soft-bristle brush.
Why does my heater smell bad after cleaning?
A faint burning smell for 15 to 30 minutes is normal as residual dust burns off the heating elements. If the smell persists longer, turn off the unit and inspect for remaining debris or damage. Ensure the filter is completely dry before reinstalling.
My space heater has no removable filter. How do I clean it?
For sealed units like many Lasko models, clean externally using compressed air and vacuum. Blow dust from the exhaust vent and immediately vacuum the intake vents to capture dislodged particles. Never attempt to open sealed units.
Key Takeaways for Maintaining Your Space Heater Filter
Regular filter cleaning is a simple, no-cost maintenance task that takes less than 15 minutes but delivers significant benefits. A clean filter restores full heat output, prevents false failure diagnoses, extends heater lifespan by years, and reduces energy bills. It eliminates startup odors and improves indoor air quality for your household.
Always consult your user manual to confirm filter type and access method before cleaning. Remember to unplug and cool the heater completely, use the appropriate cleaning method for your filter type, and allow thorough drying time before reinstalling. For sealed models, rely on external cleaning with compressed air and vacuum only. With just water, a brush, and a vacuum, you can boost performance, safety, and efficiency all winter long. Make filter cleaning a habit, and your heater, your wallet, and your lungs will thank you.